Watch this video for a step by step process on how to Enable Two Factor Authentication on Launchpad Dashboard
Users can increase the security of their Launchpad account by assigning a Two Factor Authentication.
To Enable Two Factor Authentication on Launchpad
1. Log in to your Launchpad account.
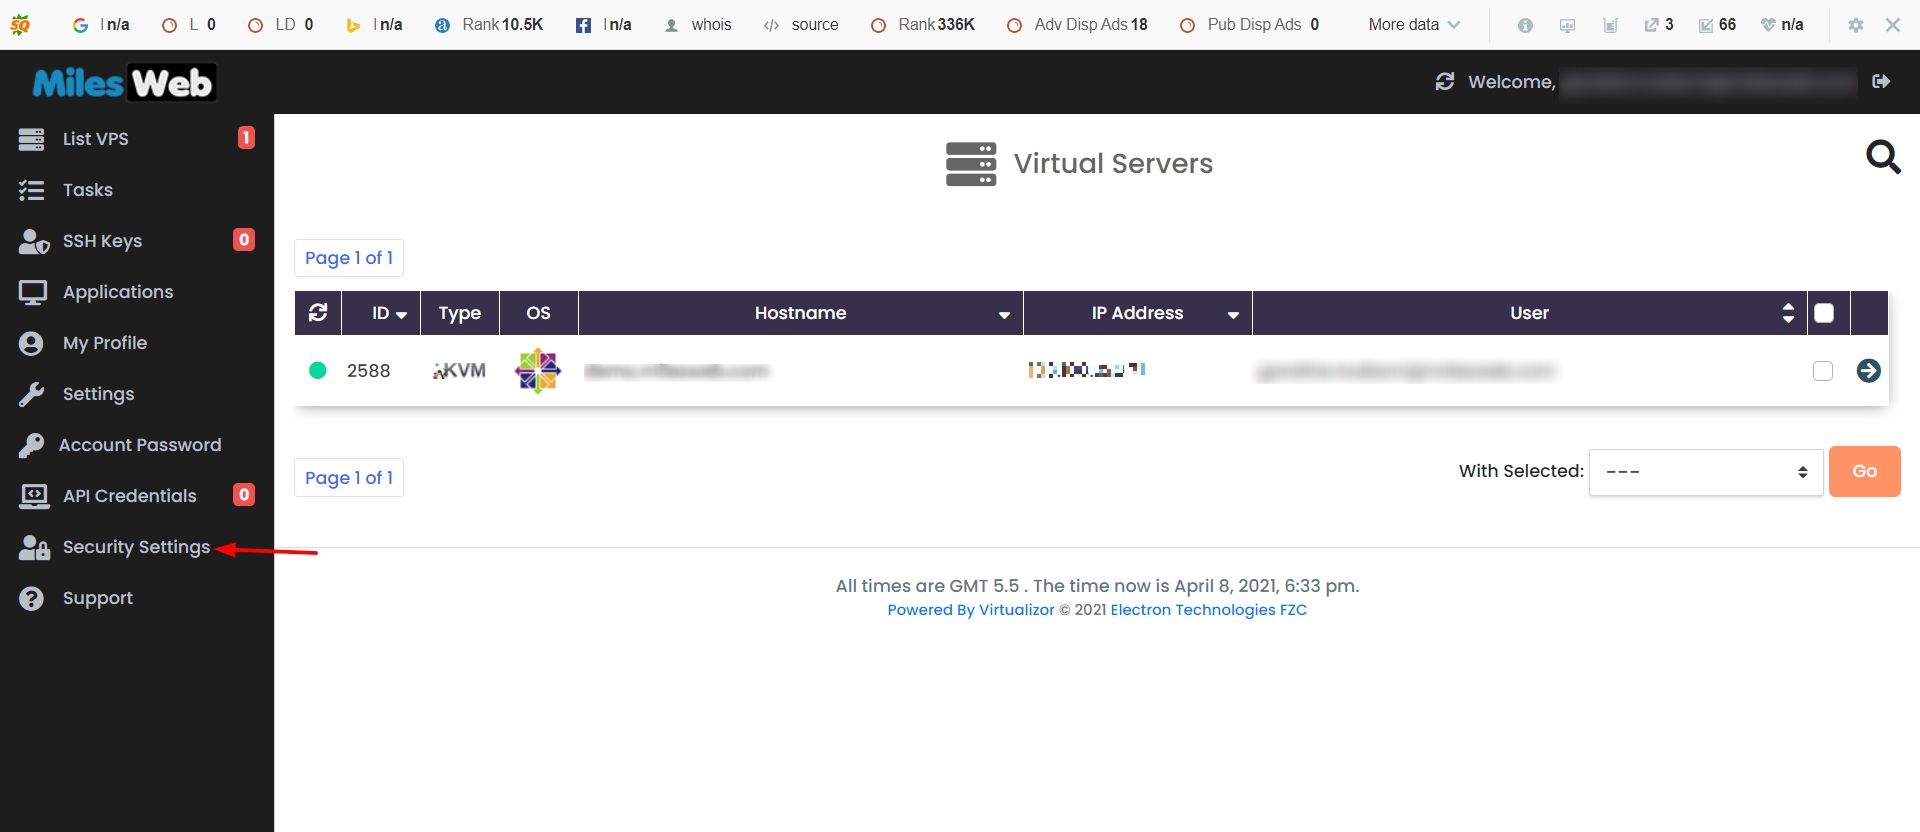
2. Click on the Security Settings option.
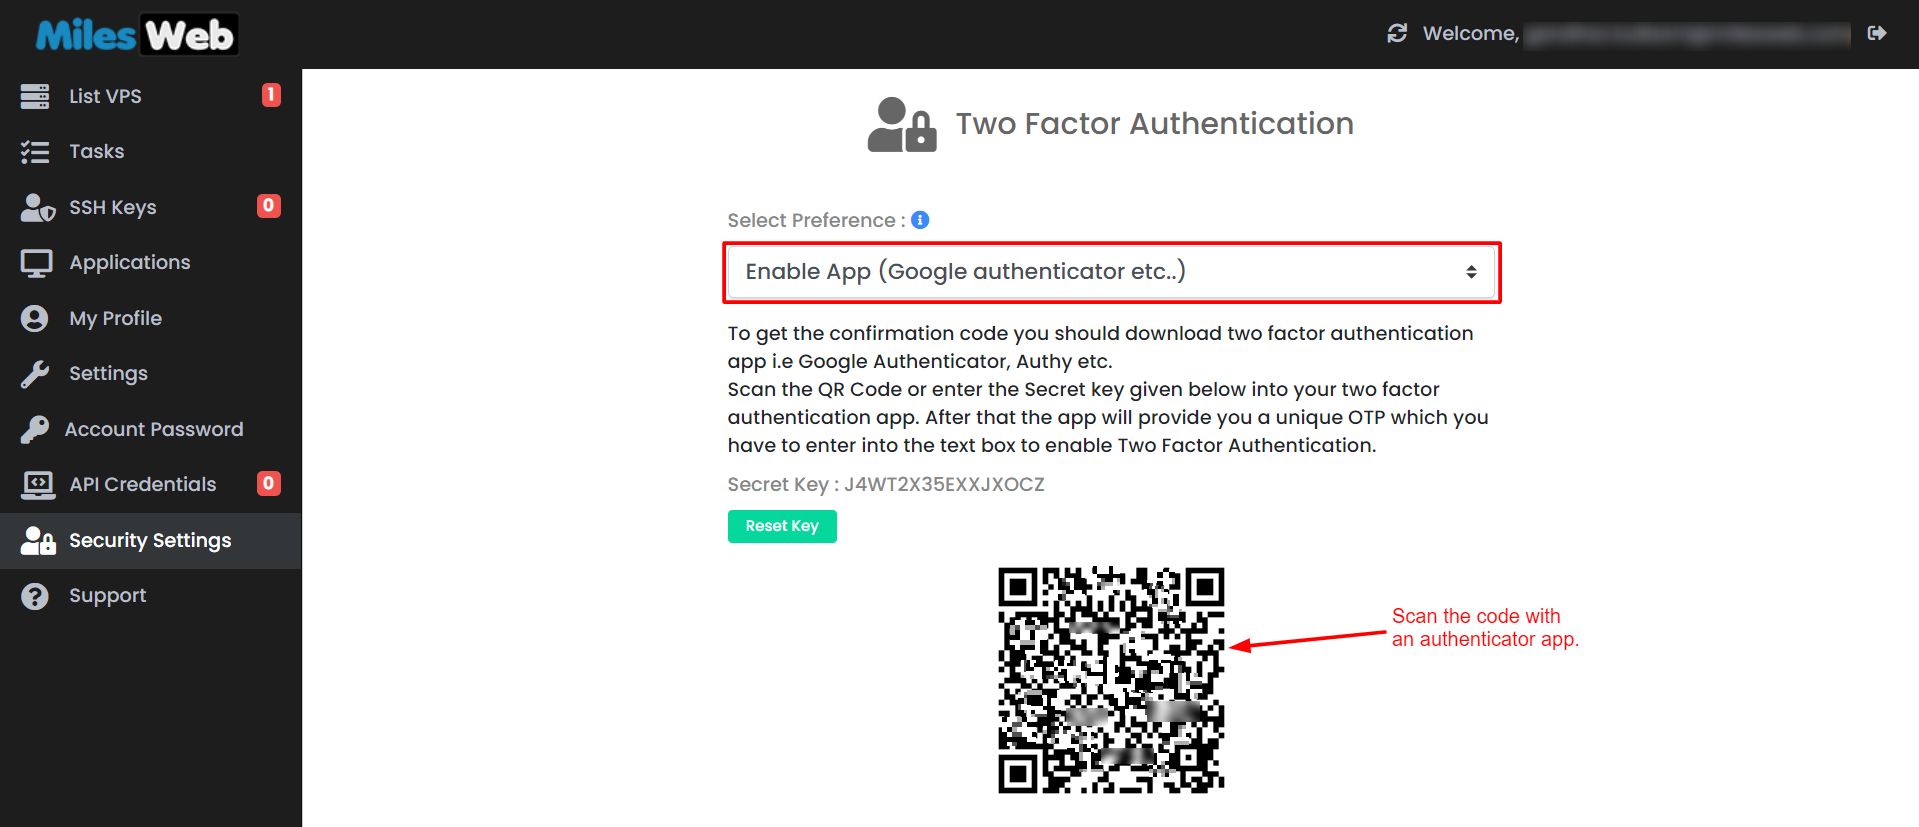
 3. The Two Factor Authentication panel will open. Select an authentication method from the dropdown list of the Select Preference field.
Here we have selected Enable App for our two factor authentication method. Scan the QR code with an authenticator app like Google Authenticator.

4. Enter the code generated by the app in the Confirmation code field. Alternatively, if you choose the Email OTP as your two factor authentication method, you will have to enter the OTP sent by the Launchpad on your registered email. Once you have entered the code, click on Submit.

A success message is flashed on the screen indicating the two factor authentication is successful.
Next time you access your Launchpad account, the application will present the two factor authentication you set.


