Being the admin of your dedicated server, you may need to use tools to avoid the flood of spam. In WHM, you will find one of the tools available which is Greylisting. With this option, you can temporarily reject any email from a specific sender. When spam emails get failed on initial delivery, they are not re-delivered. Normally, a mail server attempts to re-deliver the undelivered email. Due to these re-delivery attempts, legitimate email can be sorted out from spam. Greylisting is disabled by default. To enable it within WHM follow the below steps:
Note: Note that when you enable Greylisting, it gets enabled for your entire server.
You will need to have root access for enabling Greylisting. Root access is included (at no extra charge) with our Dedicated Servers and VPS plans.
Steps to Enable Greylisting in WHM
- Login to your WHM account.
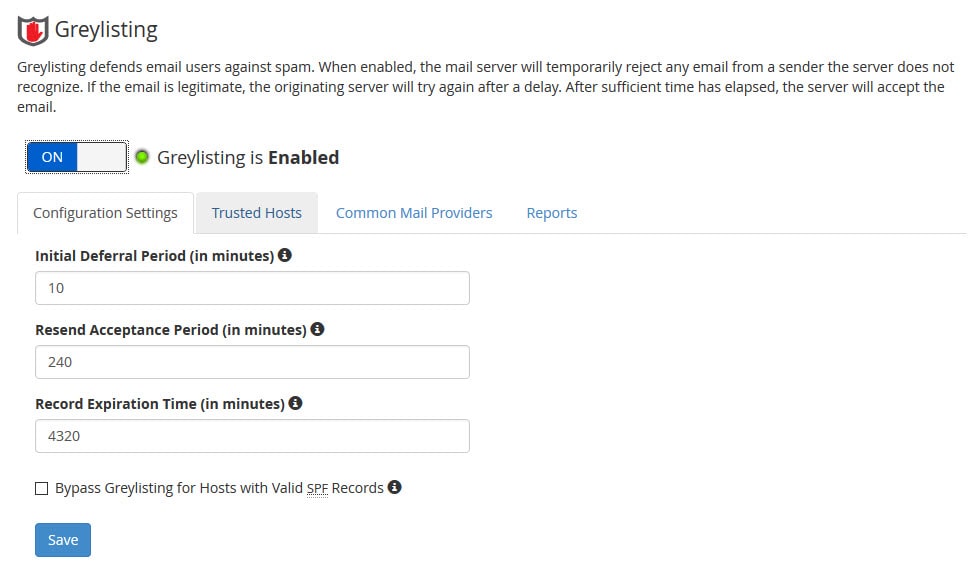
- For activating Greylisting, click on the OFF button.

- After enabling Greylisting, you will see Configuration Settings, Trusted Hosts, Common Mail Providers, and Reports. Specify your greylisting configuration settings – you can either use the default settings or set your own. Note that the times mentioned are in minutes. An option at the bottom allows you to bypass greylisting for valid SPF records. With each setting, you will find an “i” for more information. For further definition or examples of the configuration setting, click on it.

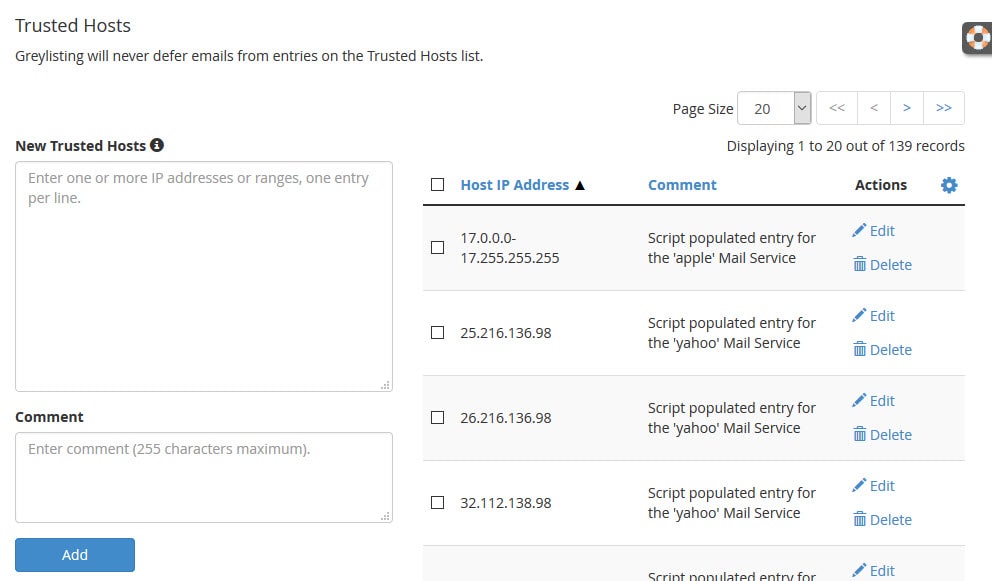
- Next, click on Trusted Hosts. With Trusted Hosts you can define hosts that you typically receive email from and that you do NOT want Greylisting to affect. In the New Trusted Hosts you can add the IP address (or range) of the host. Additionally, you can add a comment for each entry. After completing entering your entries, click on Add.

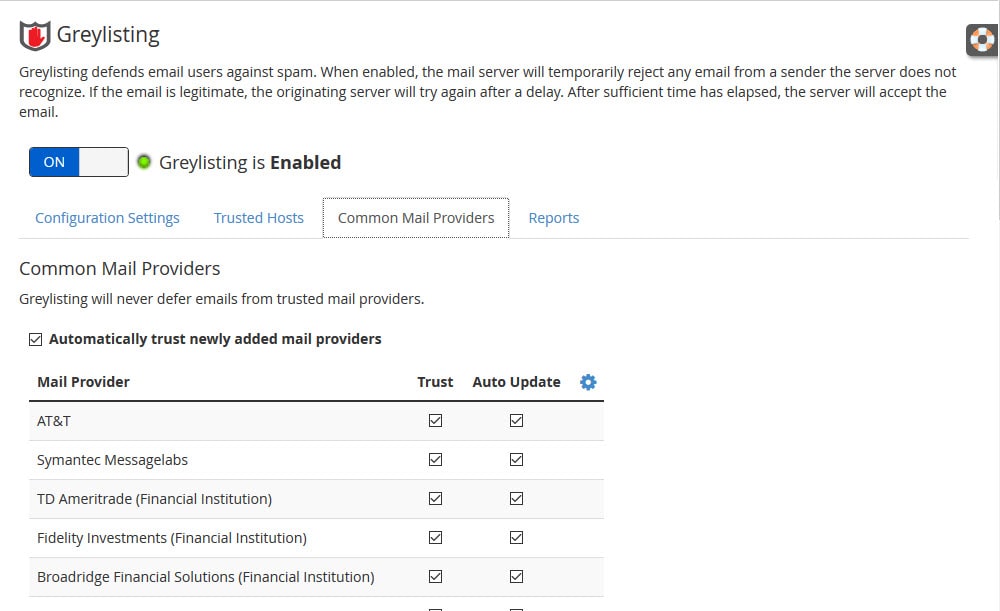
- Now click on Common Mail Providers which includes common email providers like AOL, Google, or Yahoo. Another option is present that allows your WHM to automatically add trusted common mail providers when the list is updated. By default, each common provider is trusted and updates automatically. In case there are problems with a common provider then you can un-check the box. After completing the changes, click on Save at the bottom of the page.

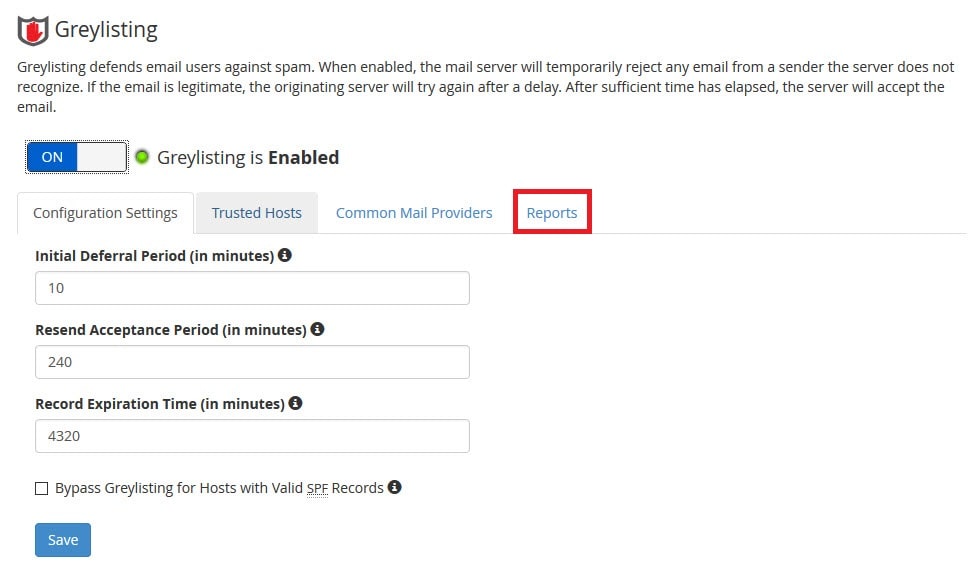
- At last, click on the Reports tab. Here you can see the emails that have been delayed as defined by its sender IP address, From Address and To Address. Using the Filter option you can narrow your search, if you’re finding a particular email.

With Greylisting, you can avoid spam on your server. If configured properly, it can help to reduce spam that will unavoidably show up in your emails. You can also enable Spam Assassin. Using these tools and others like the WHM email reports can keep spam to a minimum.


