Watch this video for a step by step process on How to Set up Custom Error Pages with WHM
You can redirect users to customized HTML pages whenever they encounter an error. For example, if users try to access an unavailable webpage, they will land on a custom error page you designed for the 404 error. You can set up custom error pages with WHM for your cPanel server.
First you will have to create an alias for “/errorfolder” in the /usr/local/apache/conf/httpd.conf file.
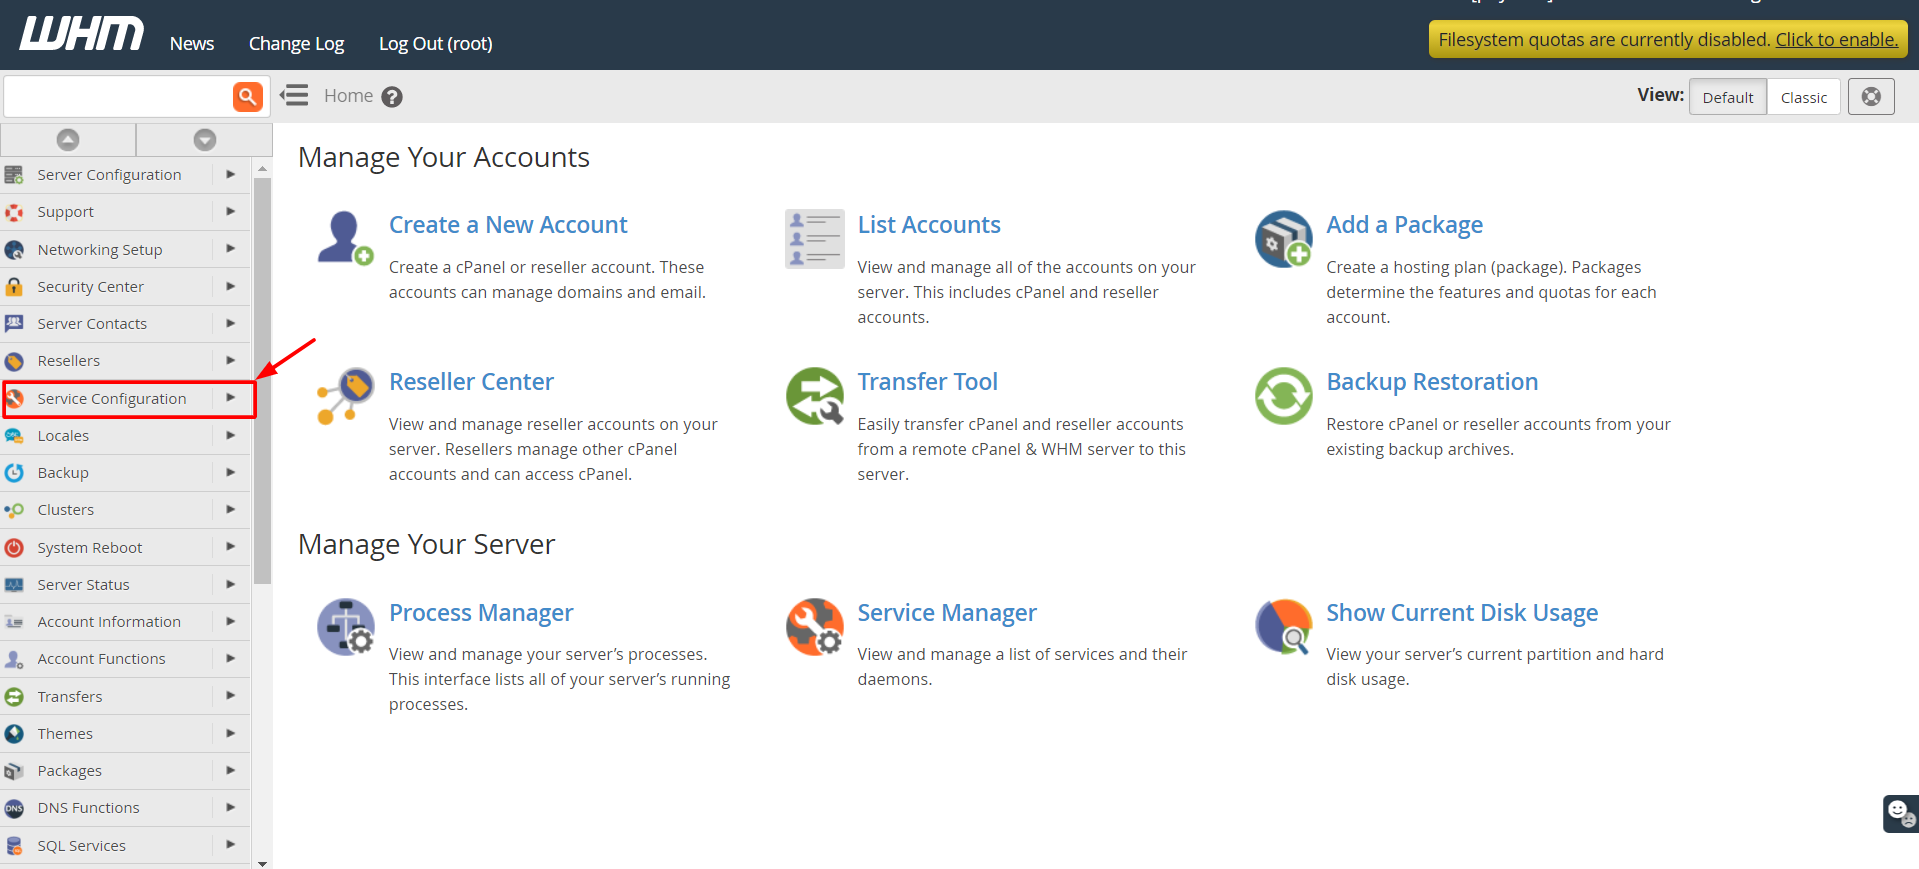
1. Log in to WHM with your root account.
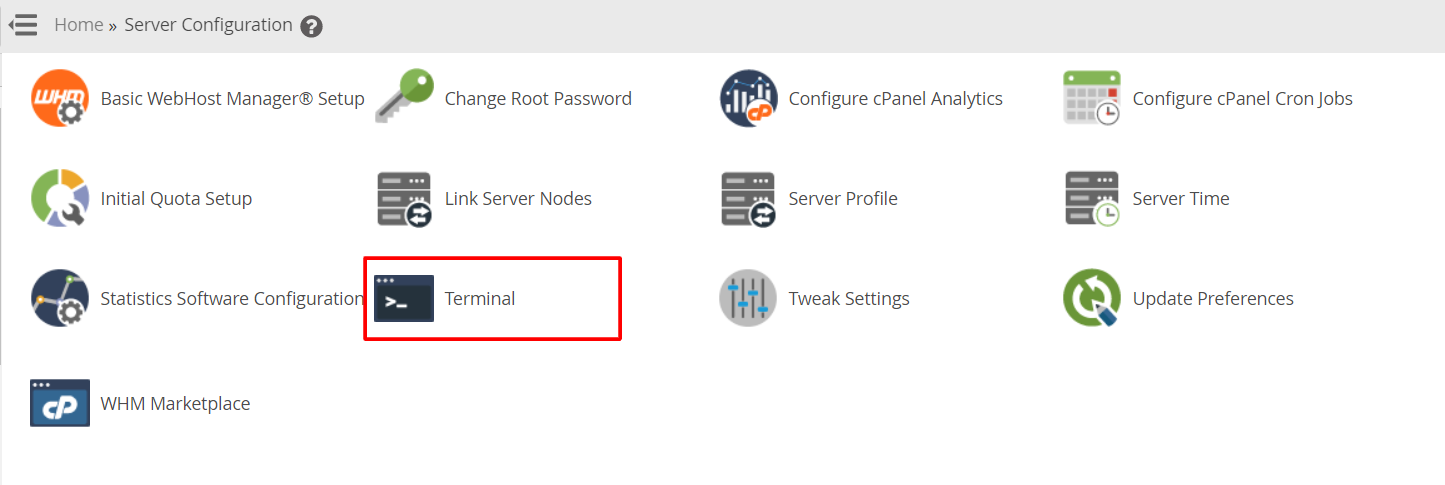
2. Select Server Configuration from the navigation menu.

3. Click on Terminal.
The terminal or SSH command-line interface will open.
4. Enter the following code to create a directory in /usr/local/apache. You will need it to store your custom error messages.
mkdir /usr/local/apache/errorpages
Here, I have named the directory “errorpages”.
After you have created an alias, you can proceed to set up/ add the custom error pages to this folder.
To Set up Custom Error Pages
1. Select the Service Configuration option from the navigation menu.

2. Click on Apache Configuration.

3. Click on Include Editor.

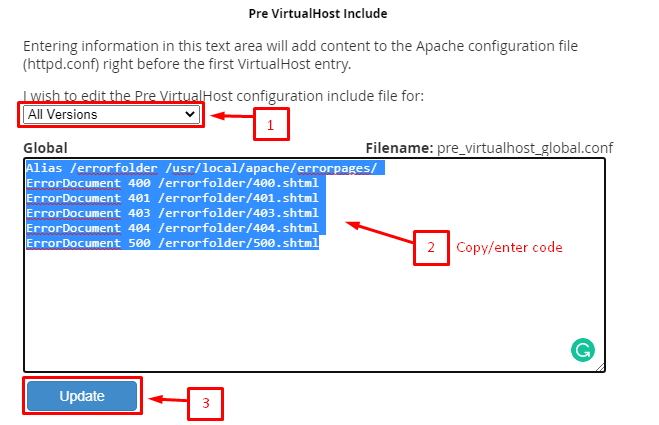
4. Go to the Pre Virtualhost Include section and select All Versions.
5. Enter/copy the following code in the Global text field.
Alias /errorfolder /usr/local/apache/errorpages/
ErrorDocument 400 /errorfolder/400.shtml
ErrorDocument 401 /errorfolder/401.shtml
ErrorDocument 403 /errorfolder/403.shtml
ErrorDocument 404 /errorfolder/404.shtml
ErrorDocument 500 /errorfolder/500.shtml
6. Click the Update button.

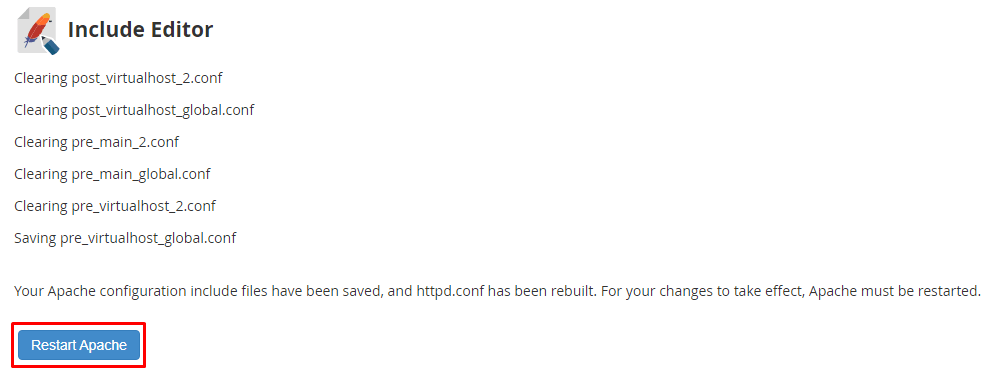
The Apache server will save the changes but, to apply them, the server needs to restart.
7. Click on Restart Apache.

After restarting the server, the HTML pages you upload in the “errorpages” or the alias folder will act as the custom error pages for the websites on your WHM/cPanel server.


