
MS SQL Server is the most commonly used relational database management system (RDBMS), which was developed by Microsoft. It offers advanced, high-speed, and powerful storage solutions for quantitative and qualitative data.
It also provides a wide array of features and tools for database administration, development, BI (business intelligence), and complex data analytics. This detailed guide on MS SQL Server installation will walk you through its various editions, requirements, prerequisites, and installation process to assure swift configuration of the Microsoft SQL Server.
Microsoft SQL Server offers two types of installation methods:
- Standalone, and
- Cluster-based
Important Checks
- Ensure the RDP connection is configured for the server.
- Assess the OS bit, IP, and domain of the server.
- Check whether your account has administrative rights to run the setup.exe file.
- Confirm the software location.
Specifications
- Find out the version, edition, SP, and hotfix, if available.
- Identify the service accounts for the database engine, agent, SSAS, SSIS, and SSRS, if available.
- Check the instance name, if available.
- Identify the software binaries and user data files directory paths.
- Check the mode of authentication.
- Check the database collation option.
- Check out the detailed feature list.
Pre-requisites for 2005
- Set up support files
- .net framework 2.0
- SQL Server native client
Pre-requisites for 2008 and 2008R2
- Set up support files
- .net framework 3.5 SP1
- SQL Server native client
- Windows installer 4.5 or later version
Pre-requisites for 2012 and 2014
- Set up support files
- .net framework 4.0
- SQL Server native client
- Windows installer 4.5/later version
- Windows PowerShell 2.0
MS SQL Server Installation Steps:
1. Download the Evaluation Edition from https://www.microsoft.com/en-us/evalcenter/download-sql-server-2019
Once it is downloaded, on the basis of the download option chosen, i.e., 32 or 64-bit, the following files will be made available:
Note: Here X86 (32-bit) and X64 (64-bit)
- ENU\x86\SQLFULL_x86_ENU_Core.box
- ENU\x86\SQLFULL_x86_ENU_Install.exe
- ENU\x86\SQLFULL_x86_ENU_Lang.box
OR
- ENU\x86\SQLFULL_x64_ENU_Core.box
- ENU\x86\SQLFULL_x64_ENU_Install.exe
- ENU\x86\SQLFULL_x64_ENU_Lang.box
2. Find and double-click the “SQLFULL_x86_ENU_Install.exe” or “SQLFULL_x64_ENU_Install.exe” in order to start the installation process. The necessary files will be extracted in the “SQLFULL_x86_ENU” or “SQLFULL_x86_ENU” folders accordingly for installation.
3. Select the “SQLFULL_x86_ENU” or “SQLFULL_x64_ENU_Install.exe” folder and start the “SETUP” process by double-clicking it.
For illustration purposes, here we’ve utilized SQLFULL_x64_ENU_Install.exe software.
4. After double-clicking on the ‘setup’ application, on the left side of the screen you’ll find the “Installation” option; click on it.
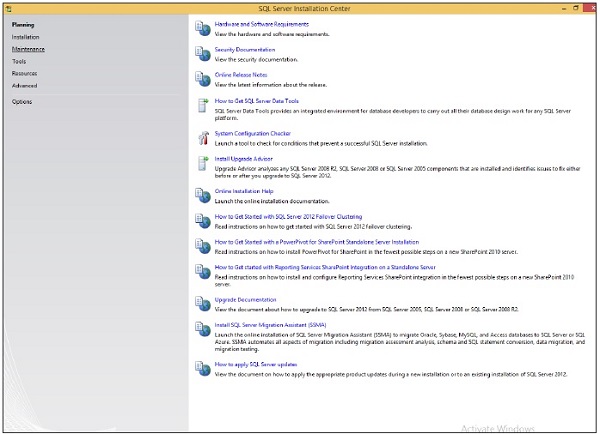
5. Select the 1st option on the right side next to the “Installation” option.

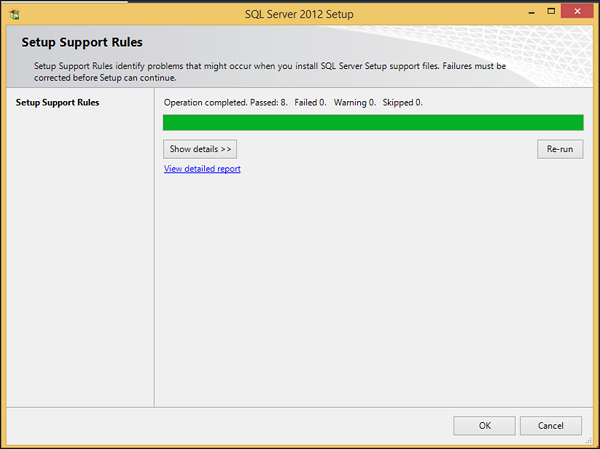
6. The “Setup Support Rules” screen will appear. Click the “OK” option present at the bottom of that screen.
7. The following screen will appear; click the “Next” option to open the following screen.
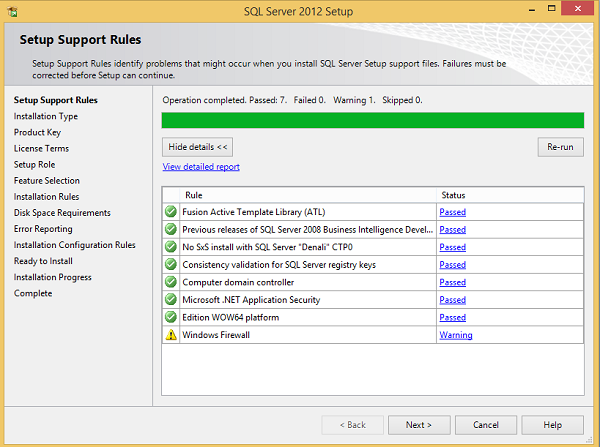
8. Click “Next,” and you’ll be taken to the “Product Key” screen.
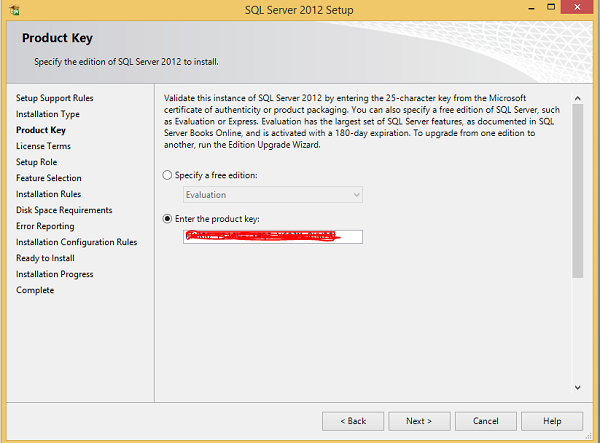
9. Tick the “Enter the Product Key” option and click “Next,” and the “License Terms” screen will appear:
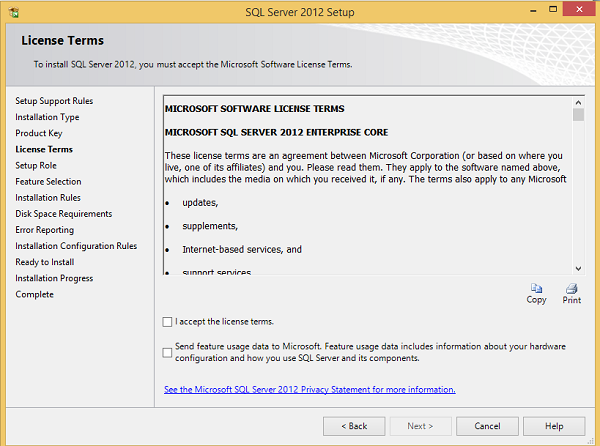
10. Tick the checkbox next to “I accept the license terms” and then click “Next.” The following “Setup Role” screen will appear:
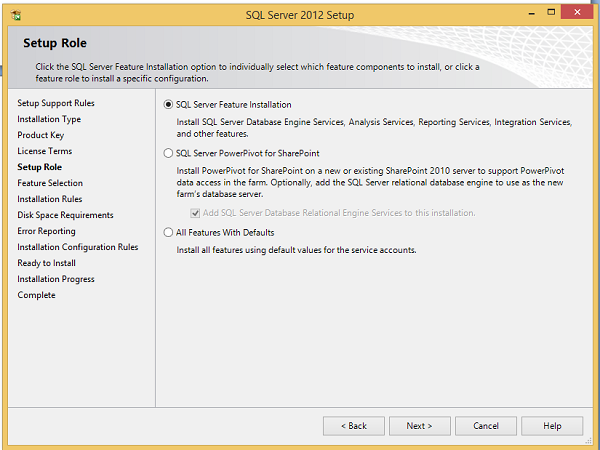
11. On this screen, click the “SQL Server Feature Installation” to manually select the feature components to install. Then press the “Next.” button.
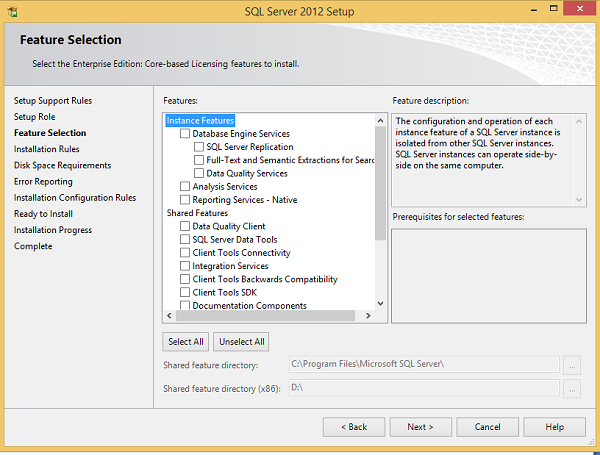
12. Choose the “Database Engine Services” checkbox and click “Next.”
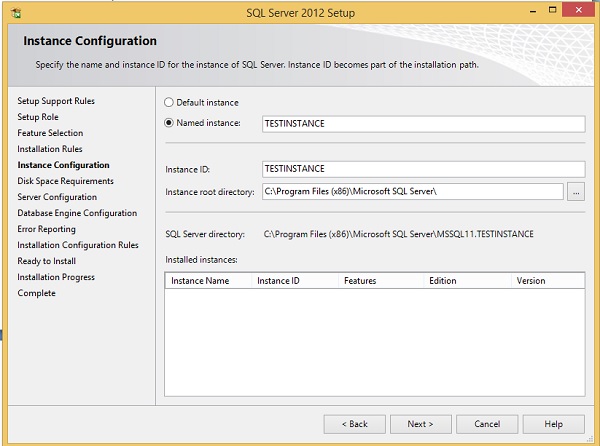
13. Enter the “Named Instance.” In this guide, it is “TESTINSTANCE” and click “Next.” The “Disk Space Requirements” screen will appear.
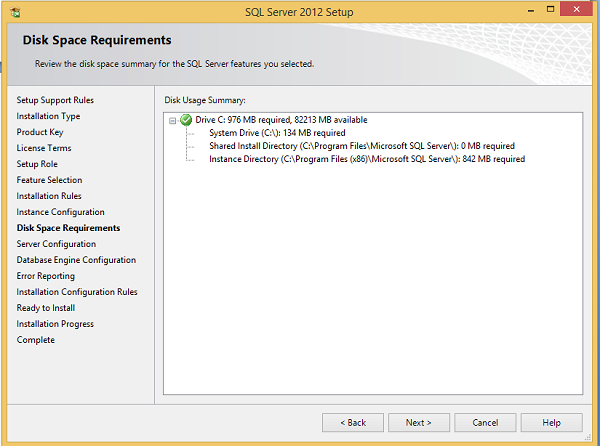
14. Click the “Next” button on the above screen and the following “Server Configuration” screen will appear.
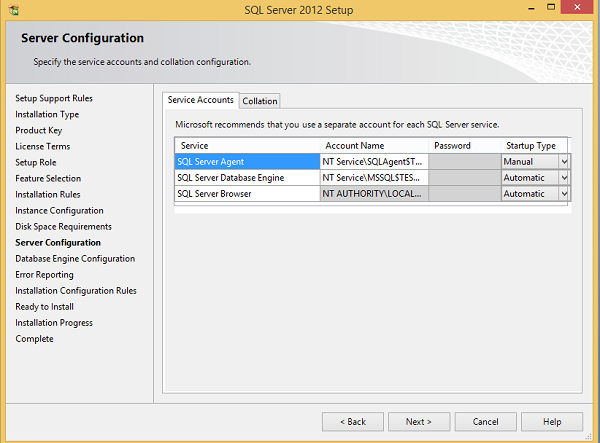
15. Choose the “Service,” “Account Names,” and “Startup Type,” for the above-listed services and click “Collation.”
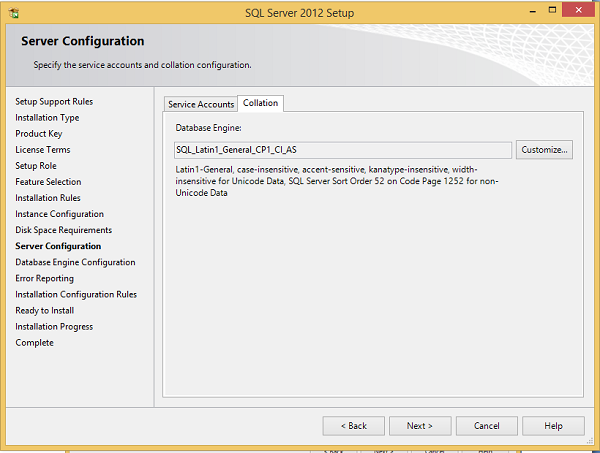
16. Assure that you select the correct “Collation” and click “Next.” The “Database Engine Configuration” screen will appear.
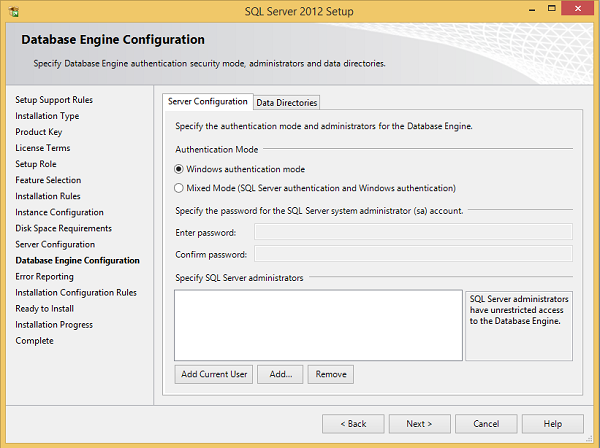
17. Assure that the “Windows authentication mode” selection and SQL Server system administrator administrators are selected and click “Data Directories.”
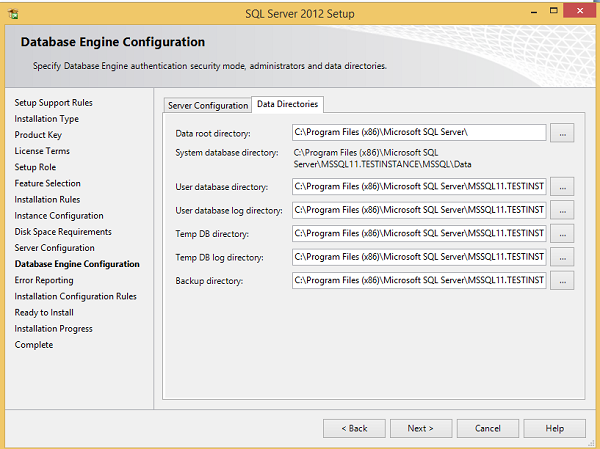
18. Assure that you choose the above directory locations and click “Next.” The “Error Reporting” screen will appear.
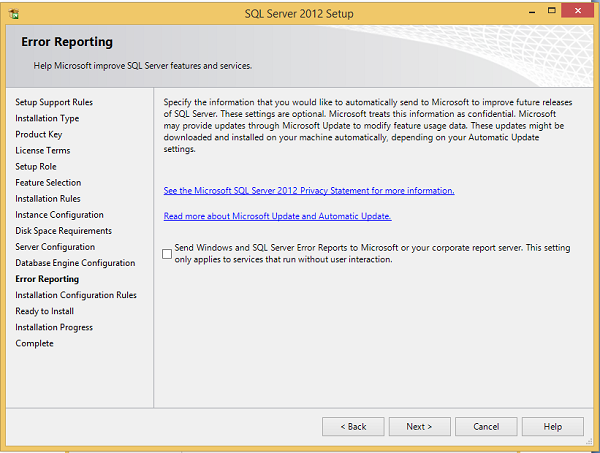
19. Click “Next” on the above screen.
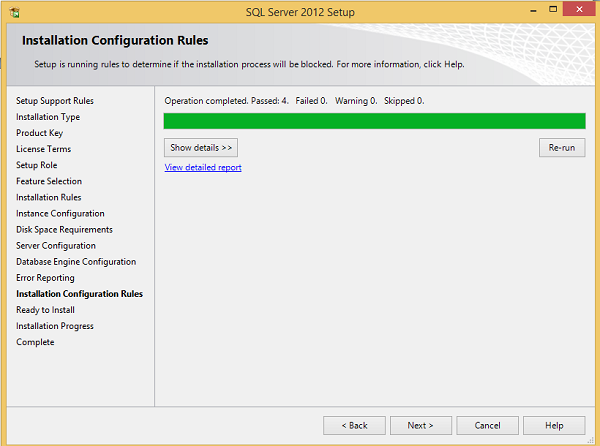
20. Click “Next” on the previous screen to continue to the following screen.
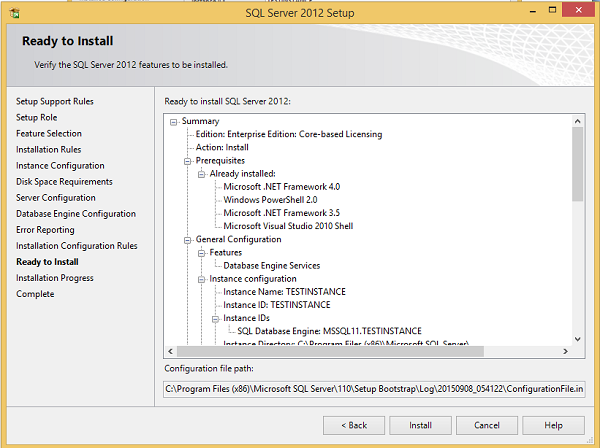
21. Assure that you correctly check the above selection and click “Install.”
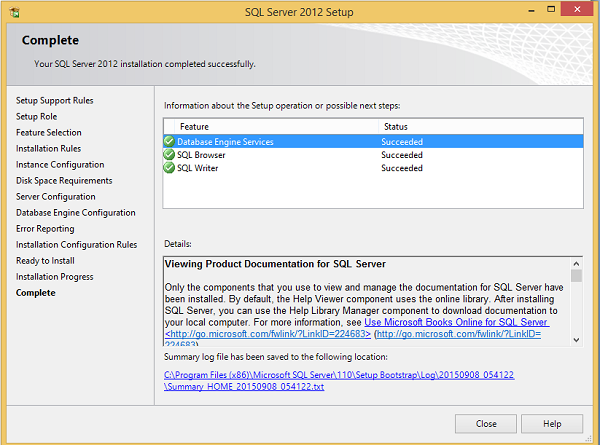
22. MS SQL Server Installation is successful, as shown in the above screen. Click “Close” to complete the process.
As it shows, MS SQL Server installation is a simple and an easy process if you carefully follow the specified steps. By following the aforementioned guidelines, you can lay a strong foundation for efficiently handling your MS SQL server.


