This article guides you on how to use the Dropmysite cPanel plugin to periodically check if your website has been added to the Google Safe Browsing blacklist.
Monitor Website Blacklist
Google Safe Browsing carries out the scanning process of the sites to check malware phishing content, and some of the web browsers use Google’s site blacklist to warn visitors about potentially unsafe sites.
Dropmysite incorporates a feature of Google blacklist monitoring. If the blacklist monitor detects that your site has been blacklisted by Google Safe Browsing, then it sends you an email alert so that you can take immediate corrective actions.
# Steps to add a blacklist monitor
Perform the following steps to add a blacklist monitor for your website:
1. Log in to cPanel account.
2. Locate the SOFTWARE section on the cPanel home screen, and click on Dropmysite:
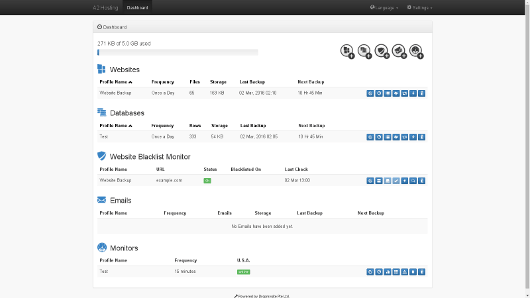
The Dropmysite dashboard will appear :
3. Click on the Add Website Blacklist Monitor ![]() icon.
icon.
4. On the Website Blacklist Monitor page, specify the settings that you want to use :
• In the list box for Website, select the website profile that you want to monitor.
• In the text box for URL, type the URL that you want to monitor.
• In the list box for Database, you can optionally select a database to monitor.
• In the text box for Alert email, type the e-mail address where you want to receive notifications.
• If you don’t want Dropmysite to make any backups of your site when malware or any other phishing is detected, then select the Stop backup after malware or phishing alert detected check box.
• Now, select the I agree to the Terms and Conditions of Website Blacklist Monitor check box.
5. Click on Save. The blacklist monitor will now be configured and activated.
# Steps to monitor website blacklist monitor
Perform the following steps after creating a blacklist to monitor it :
1. Log in to cPanel account.
2. In the SOFTWARE section on the cPanel home screen, click on Dropmysite.
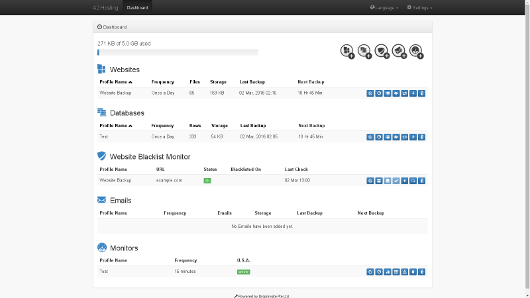
The Dropmysite dashboard will appear :
3. Under the Website Blacklist Monitor section, locate the blacklist monitor that you want to manage, and then select one of the following options:
• In order to edit the settings for the monitor, click on the Edit Details ![]() icon.
icon.
• In order to view the website backup history, click on the Website Backup History ![]() icon.
icon.
• In order to view the database backup history, click on the Database Backup History ![]() icon.
icon.
• Once Drompysite detects that your site is blacklisted, then it sends you a notification e-mail. This message contains a URL that you can click to acknowledge receipt. Or else, you can also click on the Acknowledge ![]() icon.
icon.
• To immediately check if your website has been blacklisted, click on the Check Now ![]() icon.
icon.
• In order to start the Google Safe Browsing Site Status tool for the site, click on the Google Diagnostic ![]() icon.
icon.
• Click on Delete ![]() icon, to delete the blacklist monitor profile.
icon, to delete the blacklist monitor profile.
Also Read :


