Want to install Moodle on your subdomain? Here’s a guide.
Suppose you have a domain named example.com and want to install Moodle on the subdomain “http://abc.example.com“.
You will need to first create a subdomain “abc”. This can be done as below:
Login to your cPanel account.
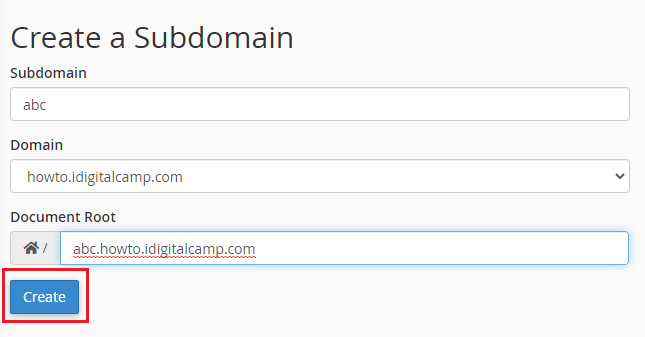
Go to Domains section and click on Subdomains. Create a subdomain “abc” here by clicking on Create button.

You will then receive a message for successfully creating a subdomain.

Then go to cPanel dashboard -> Software -> Softaculous.
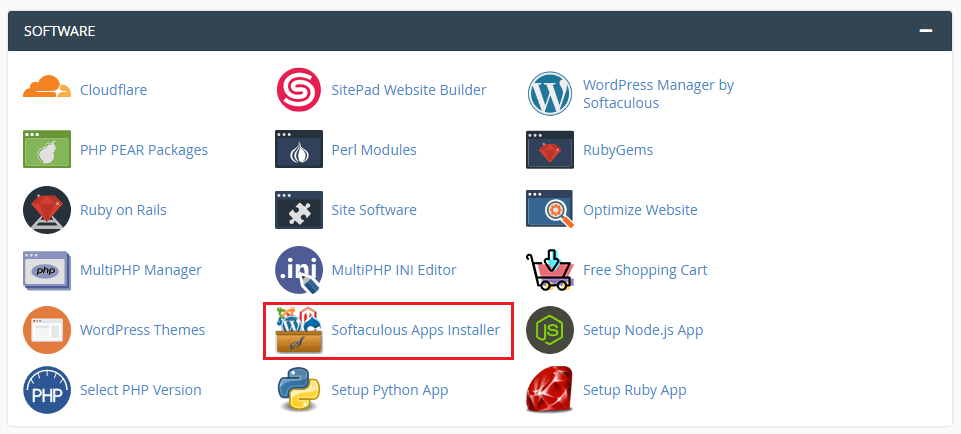
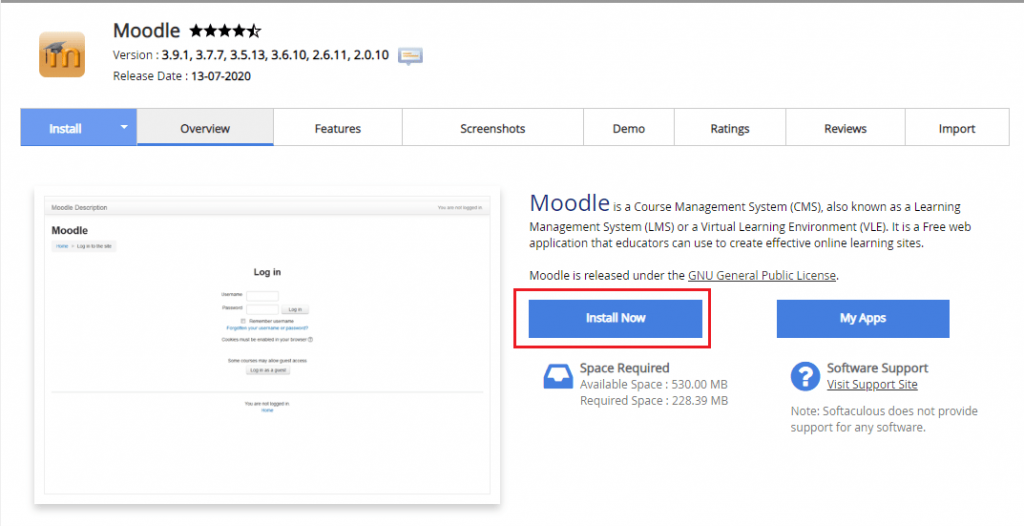
Search for Moodle in the search bar in the top left-side corner and click on it. You will see the Moodle installation dashboard.
Click on Install Now.
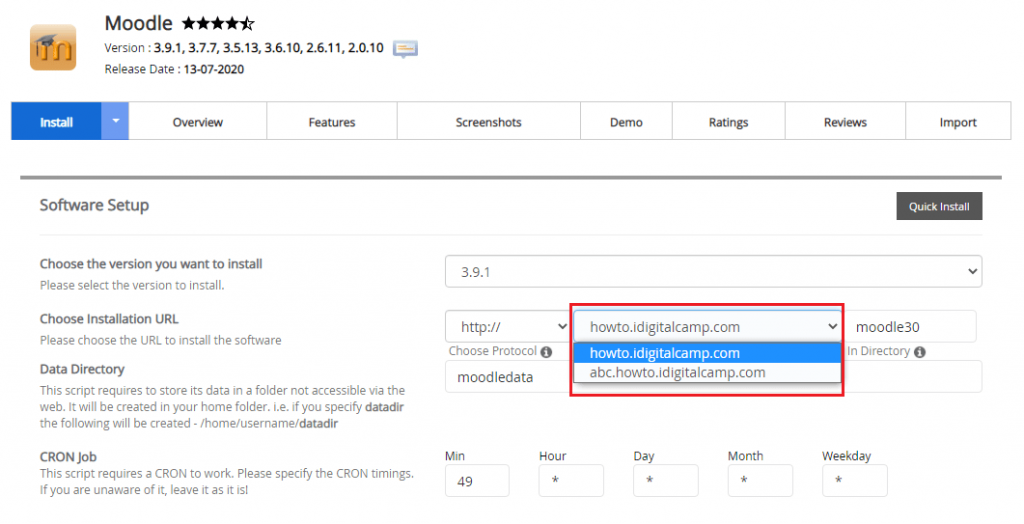
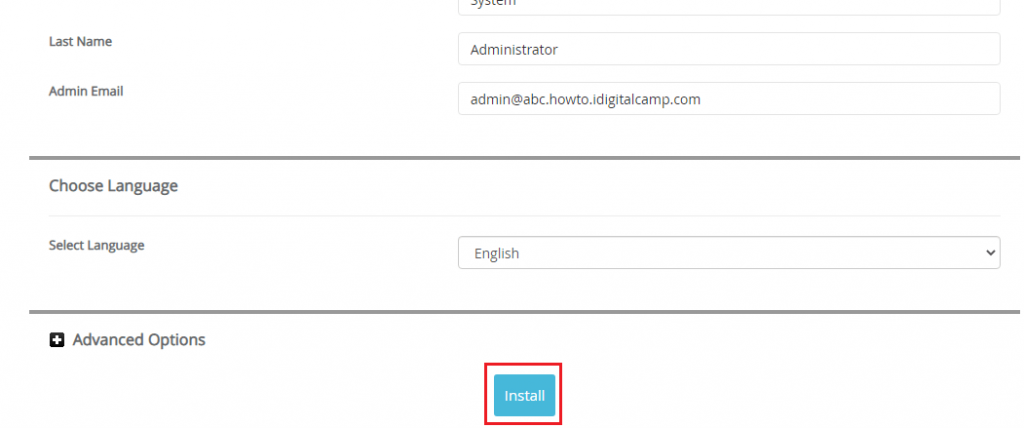
Under Software Setup, go to Choose Installation URL and click on the drop-down menu to select your subdomain. Ensure you note down the password. Then click on Install button at the bottom.
Once the installation is done you will need to access the files using File Manager of cPanel or an FTP client. Here search for the config.php file to be placed at /public_html/abc/config.php.
Open the file and search for the below line:
$CFG->wwwroot = 'http://example.com/abc';
and change it to the below line:
$CFG->wwwroot = 'http://e-class.example.com';
That’s it!
You have learned to install Moodle on the subdomain.


