The standard way to install WordPress is obviously through your full domain that means by using your regular address that leads to your home page. But this may not be a feasible case at every time. There might be some situations where you would like to use sub-domain and for that, you will have to create a subdomain using cPanel.
But before that let us know, what is sub domain?
A subdomain is a part (domain ) of a larger domain that is also known as root domain. For example, if the root domain is milesweb.com than its subdomains could be blog.milesweb.com or kb.milesweb.com. You may also consider subdomain as a separate WordPress installation that is connected to your primary site in some or the other way.
It can be used when you want to showcase some content that doesn’t directly fit to your primary domain but is still indirectly related to it. For example, a web hosting company may want to sell domain names.
Let’s see how you can create a subdomain using cPanel :
Before installing WordPress, you can create a subdomain in cPanel by going through the following steps :
Step 1: Creating Subdomain
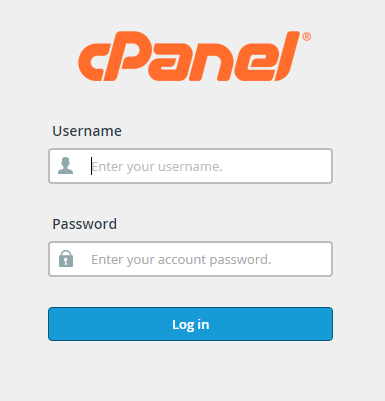
(1) Log in to cPanel using your admin details
(2) On the cPanel dashboard just by scrolling down a bit, you can see a Domains section. In this section, click on the Subdomains option.
(3) Now type the subdomain name that you wish to have for your site and click on create to make it live.

Completing this step means, your subdomain is ready. Now you can easily install WordPress from Softaculous on your newly created subdomain to start your website or a blog.
Related: Discover the Steps to Customize cPanel Using the Branding Editor
Step 2: Installing WordPress using Softaculous
To install WordPress on subdomain follow these steps :
(1) On the cPanel home screen, search for Softaculous Apps Installer and click on it.
(2) The Softaculous installer will show different top scripts, if you don’t see WordPress, search it in the search text box.
(3) Click on WordPress – Fill in all the information required in the different textboxes.
(4) Make sure you select an appropriate protocol from the list. If you already have SSL certificate installed on your website then select https:// or https://www. otherwise, if you don’t have an SSL certificate then select http:// or http://www. to continue the installation process.
(5) Now select the subdomain from the Choose domain list box.
(6) Note: Make sure that you leave the Directory text box empty
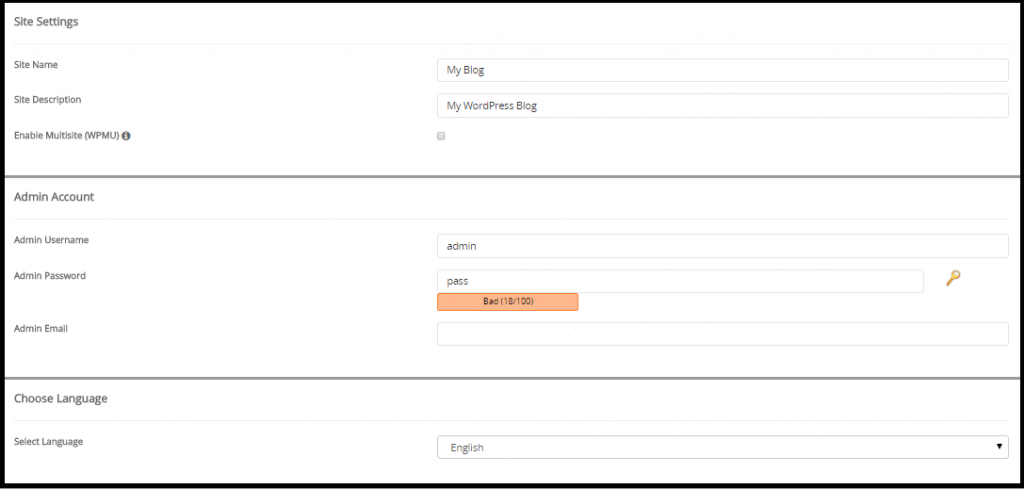
(7) Now enter the Website name and in Admin user text box, insert the administrator username.
In the Admin Password text box, insert the administrator password (use a strong password).
After that select your preferred language.
(8) In order to limit the number of login attempts, select Limit Login Attempts check box.
The security of your WordPress installation increases by limiting the number of login attempts.
(9) To expand Advanced options click on the (+) icon.
(10) Don’t want to receive e-mail notification? Then disable it by selecting Disable Update Notifications checkbox.
But, we think that you should receive email notifications when application updates are available. This will keep your site updated and help to prevent unauthorized access attempts and data loss.
(11) Create a new database by giving it a name in Database Name text box or you can also accept the default value.
(12) Selecting Auto Upgrade checkbox will automatically update the application when updates are available.
(13) Auto Upgrade WordPress Themes – Selecting this check box, the active WordPress theme for this installation will be automatically upgraded to the latest version when your script installation is upgraded.
(14) Softaculous will take automated backups via CRON as per the frequency you select, may it be once in a day, once in a week or once in a month.
(15) Backup Rotation – Once the backup rotation limit is reached, Softaculous will delete the oldest backup for this installation and will create a new backup. Backups use your space, so you need to choose the backup rotation as per the availability of space on your server.
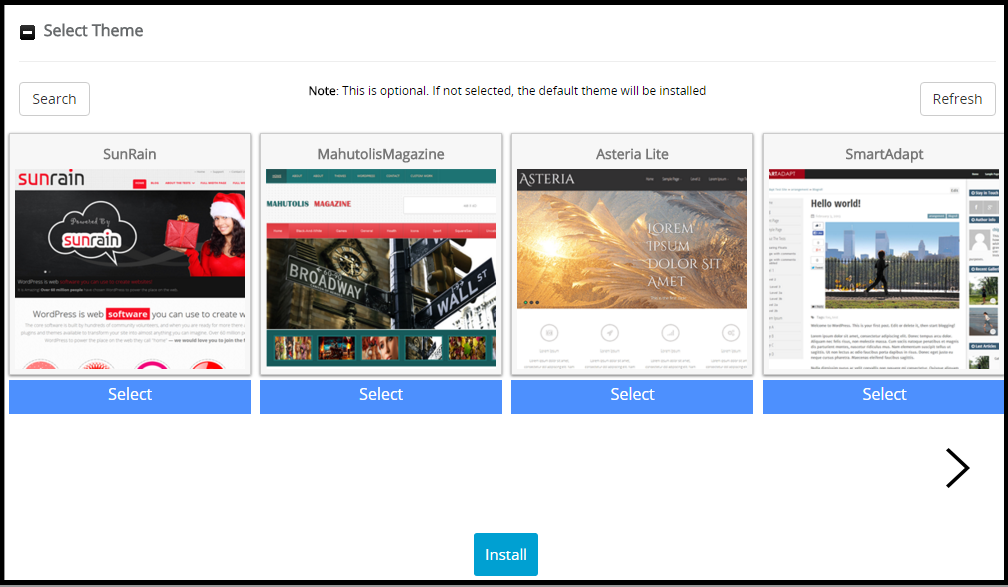
(16) You are about to finish the task, just select the WordPress theme that best suits you and click on Install to start the WordPress installation on your subdomain.
(17) Using the web browser, visit the subdomain you just created. You should see the WordPress home page.
It must be working as per your requirements.
You have just installed WordPress on a subdomain using cPanel.


