
Nginx is a Linux web server that can be used as a reverse proxy, load balancer, mail proxy, and HTTP cache. It accelerates the content by utilizing very low resources and thus is known as a competitor to Apache. To install Nginx on Ubuntu 16.04 follow the steps mentioned in the tutorial.
Prerequisite :
To explain this tutorial we are working on Ubuntu 16.04 LTS server and also logged in as root.
#Steps to install Nginx
1) Update Apt-Get
First, we will update and upgrade our packet manager using the following command.
apt-get update && apt-get upgrade
2) Install Nginx
Below command will install Nginx
apt-get -y install nginx
3) Verify the installation of Nginx
If the Nginx is installed correctly, then an Nginx’s default file will get appear in /var/www/html as index.nginx-debian.html . In case you see the Apache default page then rename it as index.html file. Just like Apache, the port for Nginx is also port 80, which indicates that if you already have set your record A for your server’s hostname, then you can visit the IP and verify if the installation of Nginx is completed. By the following command if you can get the IP of your server, in case if you don’t have :
ip addr show eth0 | grep inet | awk '{ print $2; }' | sed 's/\/.*$//'
Now, use this IP command and visit via HTTP (http://xxx.xxx.xxx.xxx).
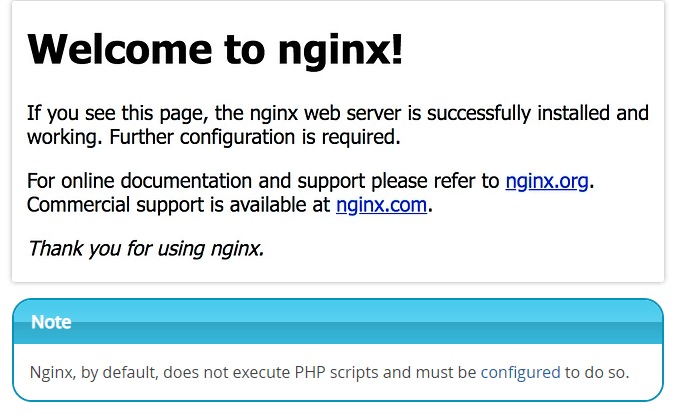
Now you can see a similar screen as below, to verify the installation of Nginx.
How to change ports for Apache?
In case if you already have Apache established to port 80, then you may find the Apache default page when you visit your host IP. So, you can change this port, in order to make a place for Nginx to take over port 80. To change the Apache port, you will have to visit the Apache port configuration file :
vim /etc/apache2/ports.conf
Here, change “Listen 80” to any other port number, for example, we can use port 8080 :
Listen 8080
Now, to notice the changes, restart Apache,
service apache2 restart
All the things that Apache has can now be seen using your IP by replacing the x’s.
For example http://xxx.xxx.xxx.xxx:8080.
Also Read :


