
Creating the Manage My Databases is the first and foremost essential step while building a data-driven application or website. Whether you are a beginner or a seasoned professional in server management, this is how you can create a new Manage My Databases is crucial.
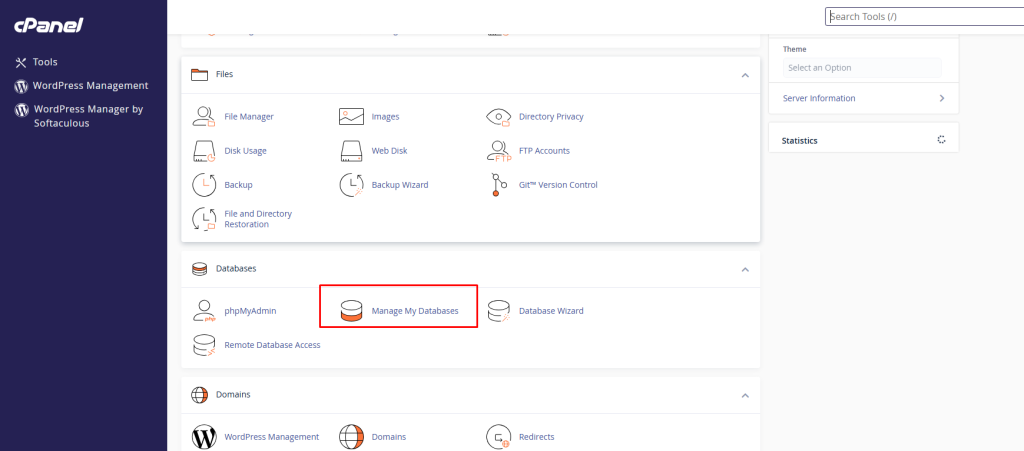
- Login to your web hosting control panel and go to ‘Manage My Databases’.
- Your current databases will be shown, and you can also create a new database from this page.
- To create a new database, you must enter the database name, username and password.
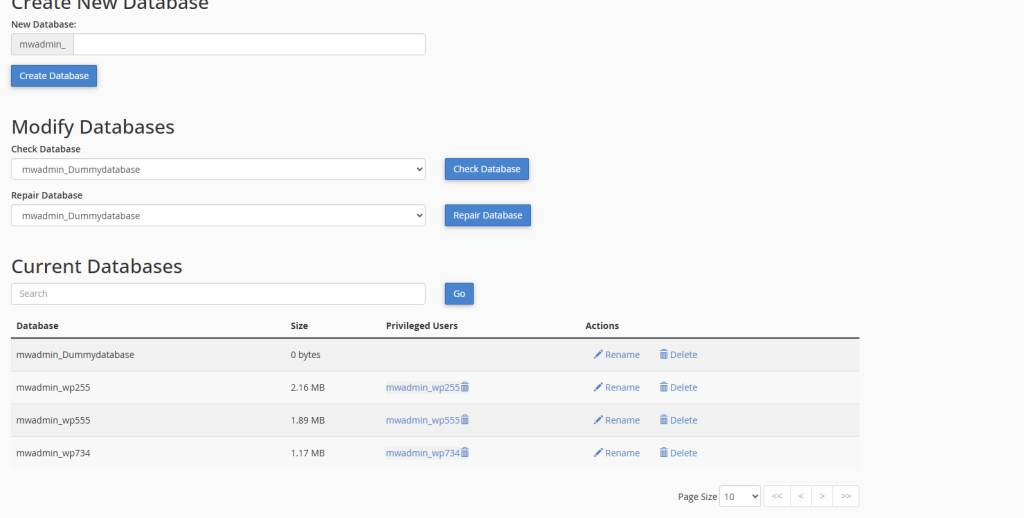
- The database will be created for you that will have the username and password that was entered for the first user.
Note: If you are unable to see your newly created database, click on the Refresh icon.
Steps For Accessing phpMyAdmin For your Databases:
- This is how you can manage Manage My Databases through phpMyAdmin:
- Log in to your control panel and go to ‘Manage My Databases’.
- On the left-hand side, select a database that you wish to manage.
The right side of the screen will display a list of usernames. Click on the Access icon for the username you want to access. You can manage the selected database through the phpMyAdmin page after clicking the Access icon.
Finally, you have learned how to create the new Manage My Databases using different methods. Whether you choose the command line for full control or a GUI for easy usage, this simple process is give you a well-structured database. It is the foundation for efficient data management and smooth application performance. Now you’re ready to move forward—whether it’s building your first website or managing a full-scale application backend.


