On a Windows Plesk platform by default Custom Error Pages option is enabled. If you are developing your website you won’t be able to see the error messages if any. You will have to ask your support technician to enable it.
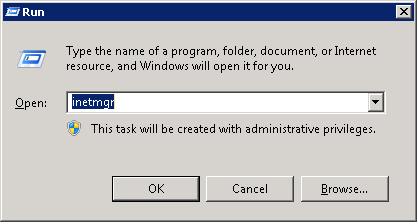
Login to your server via RDP as administrator & access option inetmgr. Access Start >> run and type inetmgr.

Select the domain for which you wish to enable Detailed Errors. Double click Error Pages under IIS.

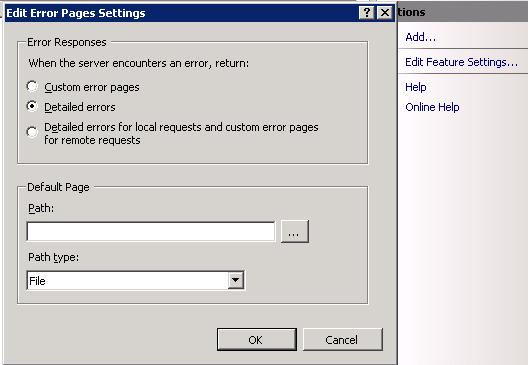
Click on Edit Feature Settings & tick the radio button which says Detailed Errors. Click Ok and you are done.

Try accessing your website and if there are any errors, it will be displayed in the browser. It will help you fix them depending on the errors displayed.


