Don’t know how to create staging for installations? Here’s a guide that will help you to create staging for testing upgrades or the changes prior to publishing it to the live installation.
Let’s take an example of a WordPress installation. In this we will create staging of an installation in a sub directory staging.
1. Login to Panel
- Hover to your panel (e.g. cPanel’s url will be https://domain.com:2083) and login with your account details.
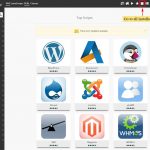
- Here click on the Softaculous Icon or Link.
- A Softaculous Enduser Panel will appear.
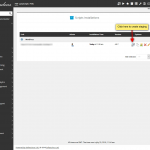
- Navigate to the all installations page.
2. Select the installation for which you want to create Staging
- Click on the Create Staging icon you wish to create staging for.
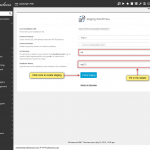
- The Create Staging page will be displayed with the current installation details and a form to fill in the details.
3. Fill in the Staging Installation Details
- You will need to fill in the staging installation details such as Choose domain, Directory, Database name, etc.
- Click on the Create Staging button for creating the staging. The time required may differ in accordance to your installation size. So, please be patient.
- And it’s done!! This staging installation can now be used for testing the updates or any other changes you may want to test.


