
Watch this video for a step by step process on how to Connect to a Database via MySQL Workbench
MySQL Workbench is an open-source application to connect with the databases on server machines from any computer.
You can download MySQL Workbench at this link for free:
https://dev.mysql.com/downloads/workbench/
Note: Before installing the MySQL Workbench, the system requires you to install the Visual C++ Redistributable Package version 2015-2019. The installation will not proceed unless you do so.
To Connect with a Database via MySQL Workbench
1. Open the MySQL Workbench application.
2. Click on the ‘+’ icon beside the MySQL connections, as shown in the screenshot.

3. The Set up a New Connection dialogue box will open. Enter the necessary details in the respective fields. Here’s a description to help you understand how to fill them.
- Connection Name: Enter the name for your connection here.
- Connection Method: The method/protocol with which MySQL Workbench makes the connection. Leave it as the default: Standard (TCP/IP).
- Hostname: The IP address of the host where the database is located.
- Port: No need to change it from the default 3306.
- Username: Enter the username for your control panel account or the created user for the database.
- Password: Enter the password for your control panel account or the database user you created. Click on Store in Vault.

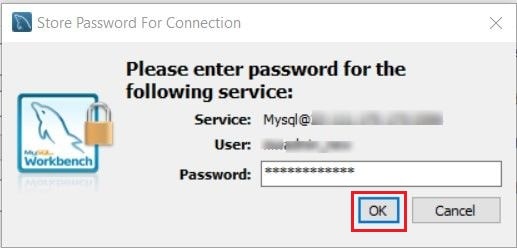
The Store Password For Connection window will open. Enter the password and click OK.
5. To check if the connection can be established, click the Test Connection button.

6. A success message shows up and displays the information related to the connection. Click on OK.

7. Click OK of the Set up a New Connection dialogue box to create the connection.
8. The newly created connection gets listed below the MySQL connections. Click on the connection.

The database is opened in the adjacent window displaying its tables.


