A DNS Resolver is a server component that will look for the server name in the local cache. If it fails to find the name in there, it will continue the search by contacting the DNS servers until it gets the IP you were trying to locate. It has the most crucial role to play in any domain name resolution process.
A user has to specify the IP address of the resolver while configuring the server. It is possible to do so on the WHM interface, where you can designate the resolver’s IP address in the /etc/resolv.conf file.
To Configure the DNS Resolver via WHM
1. Log in to the WHM panel with your root account.
2. Select the Networking Setup option from the navigation menu.

3. Click on Resolver Configuration.

4. Click on the Proceed button.

5. Enter the addresses of two nameservers to set as the primary and secondary resolvers, and click the Continue button.

Note: Although it is optional, you can also add a third nameserver by entering its IP address in the Tertiary Resolver field. It will act as the third resolver for your server.

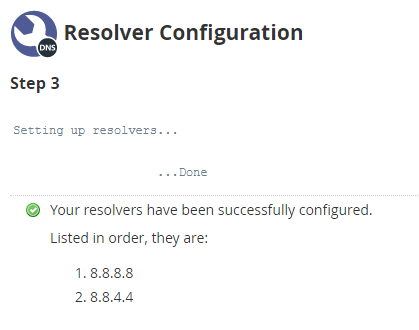
The system will commence the configuration process and set up the resolvers in the primary and secondary order.


