Watch this video for a step by step process on How to Change File Permissions via DirectAdmin
It is standard procedure to set file permissions to limit access to only authorized users. It is necessary because it raises the overall security of your hosting. However, if you wish, you can change these permissions for a file from DirectAdmin.
To Change File Permissions
1. Log in to DirectAdmin.
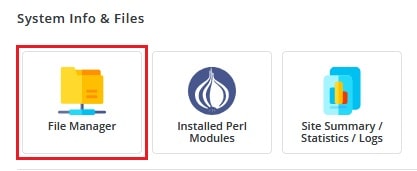
2. Go to the System Info & Files section and click File Manager.

The File Manager interface will open in a new tab. The following procedure is pretty basic but, if you want a detailed description, please refer to this article, where you will Learn to configure File Permissions in File Manager.
3. Select the File or Directory to change its permissions.
4. Click the button with three dots that will appear on the file selection.
A list of options will appear as a dropdown menu.
5. Select Set Permissions from the dropdown menu.

The Set Permissions window will pop up. Here, you can set the file permissions as per your requirements.
6. Tick the boxes for Read/Write/Execute permissions assigned for the three access levels Owner/Group/Public.
7. Once you finish setting the permissions, click on SAVE.

By default, the file permission should be 644 and the folder permission should be 750 or 755.
The File Manager that you accessed via DirectAdmin will revise and change the permissions for the directory.


