An email signature is like your electronic calling card. It creates an appeal to your email receivers while giving your message a touch of professionalism. As cPanel does not have a setting for assigning a signature for your email, you will have to access Webmail to add your signature to your email account.
To Access Webmail Account
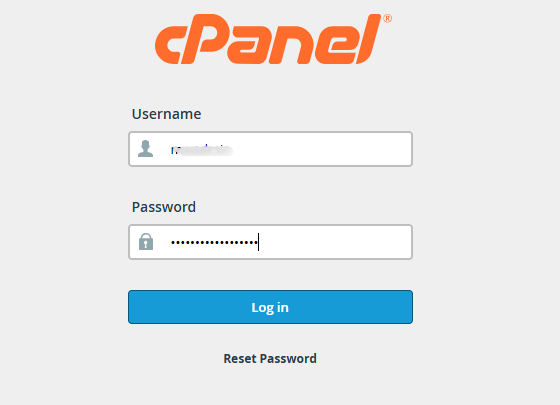
1. Log in to your cPanel account.
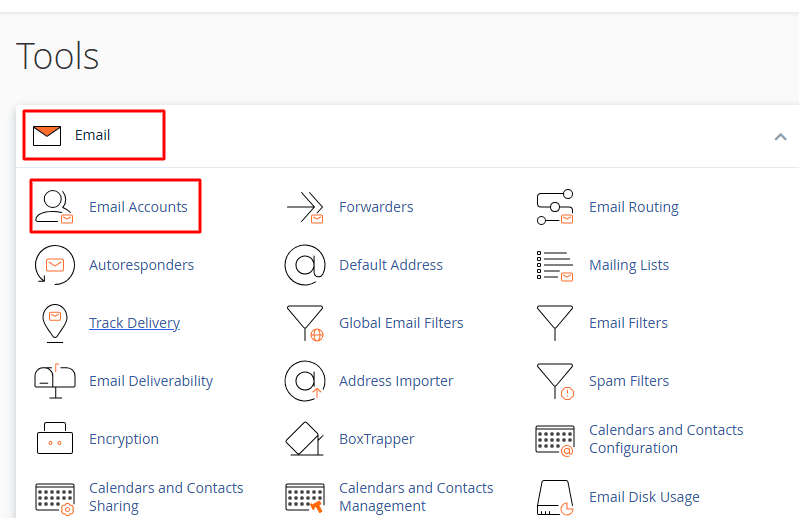
2. Click on Email Accounts in the “Email” section.
A list of the email accounts currently active on your cPanel hosting will appear.
3. Click the Check Email button to add a signature to the email account.
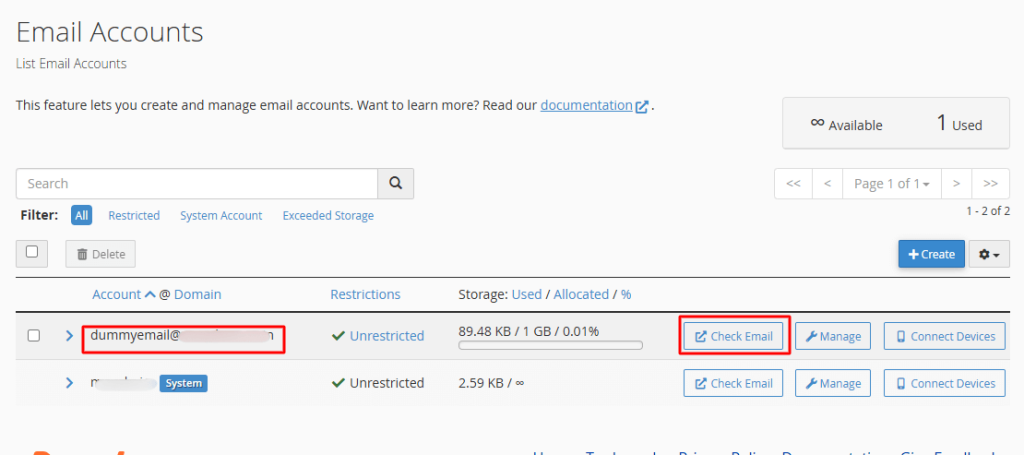
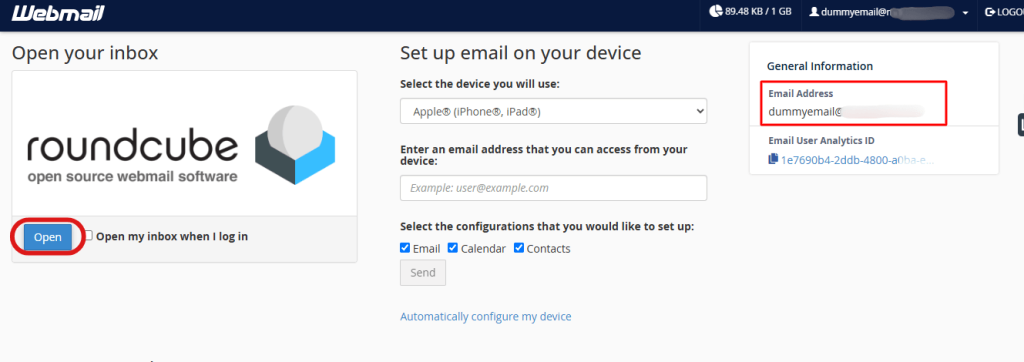
It will redirect you to the Webmail interface, where you can set up signatures within your Webmail client.
Steps To Add a Signature in Roundcube
Step 1: Once the Webmail interface is opened. Locate and click the “Open” button in the Roundcube interface.
Step 2: Select Settings from the side menu bar. And click on Identities (in the Settings panel).
A list of existing identities will appear. The email that appears with the identity will use the signature you are about to set.
Note: You can use a signature you’ve already created or make a new one.
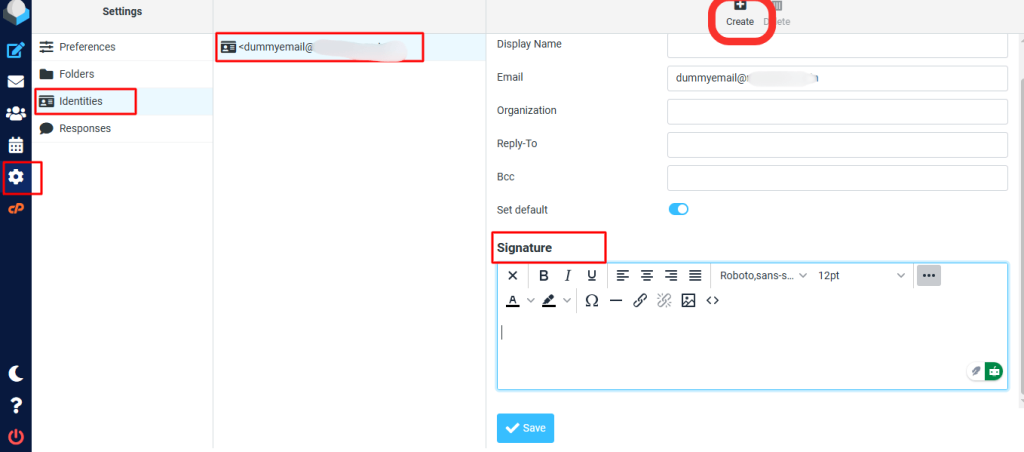
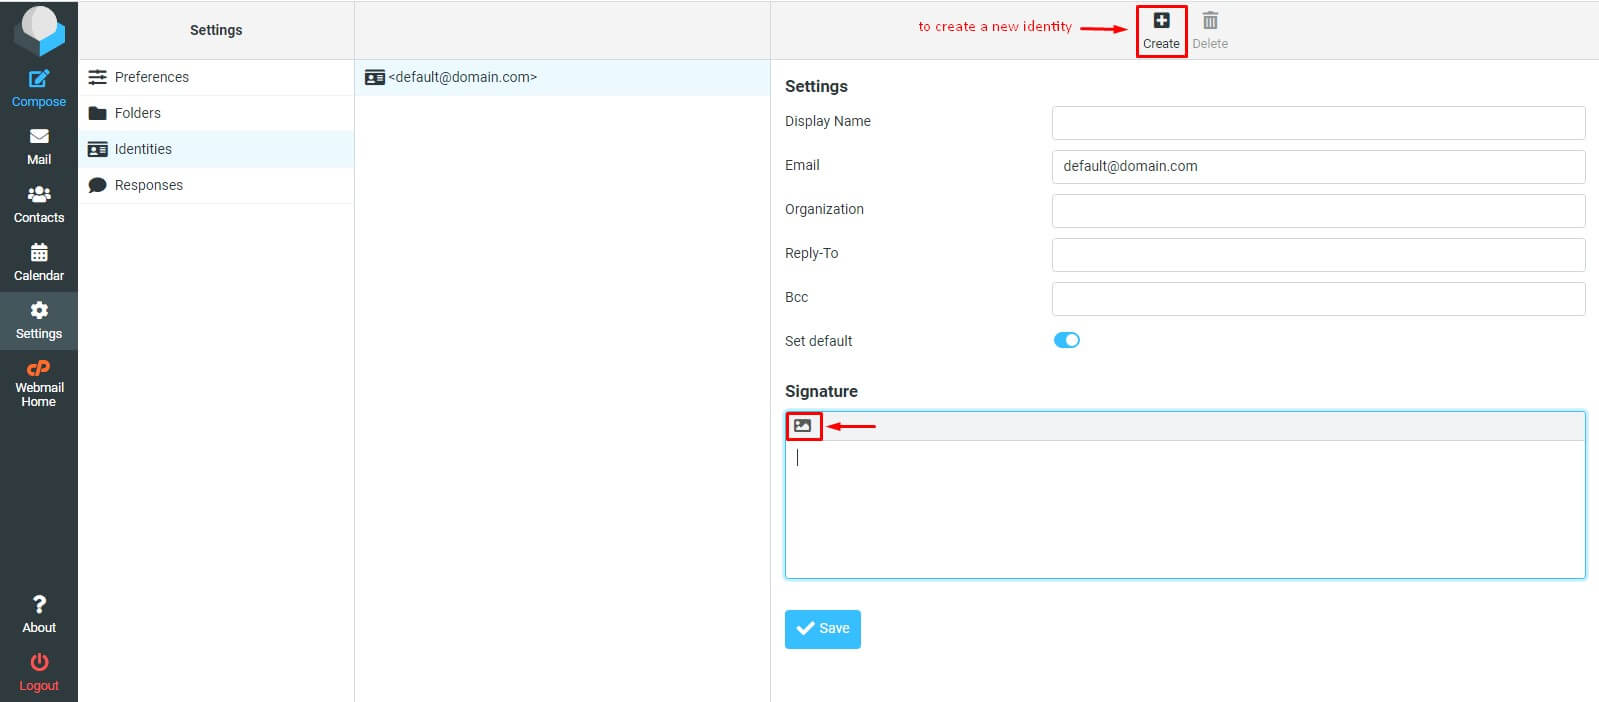
Step 3: To create a new signature, click ‘Create’ and fill in the required information.
Step 4: Now click the HTML button in the ‘Signature’ box to add your signature content.
There is an array of options available to create your signature.
5. Click the HTML icon in the Signature field to add your signature.
There is an array of options available to create your signature.
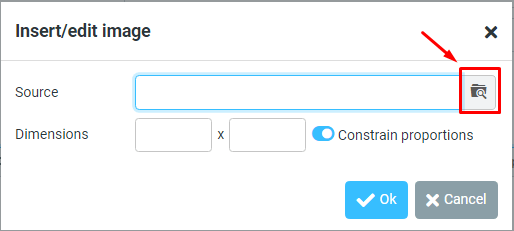
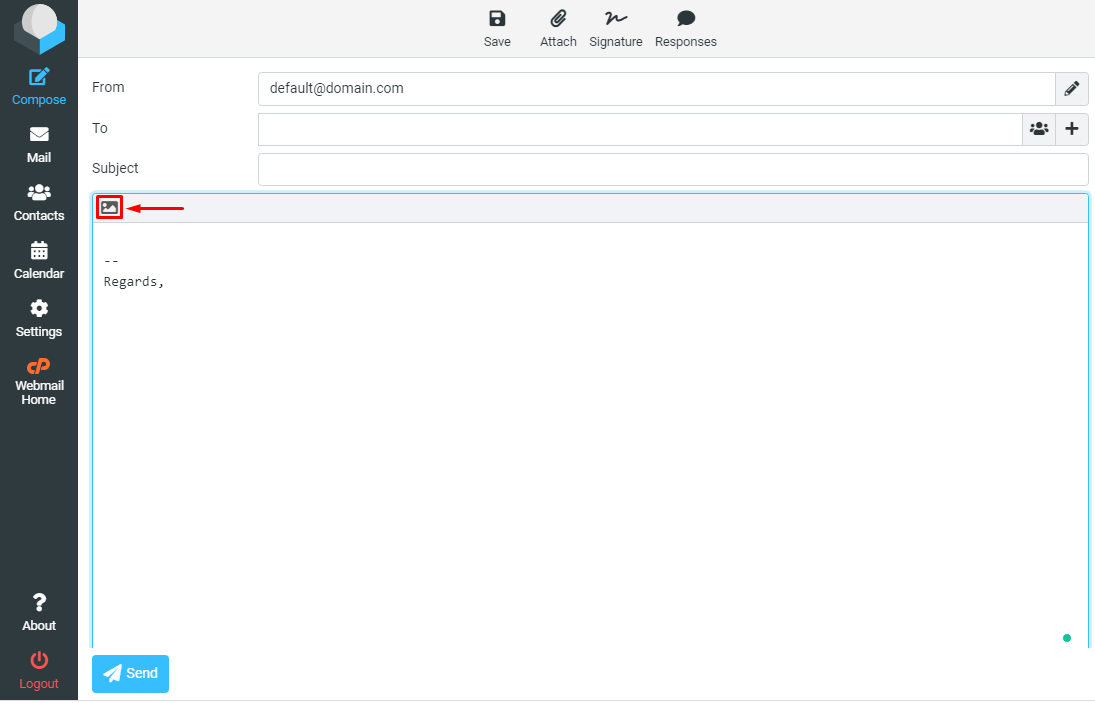
Step 5: You can type a text signature and also add an image. To add an image, click the image icon in the toolbar.
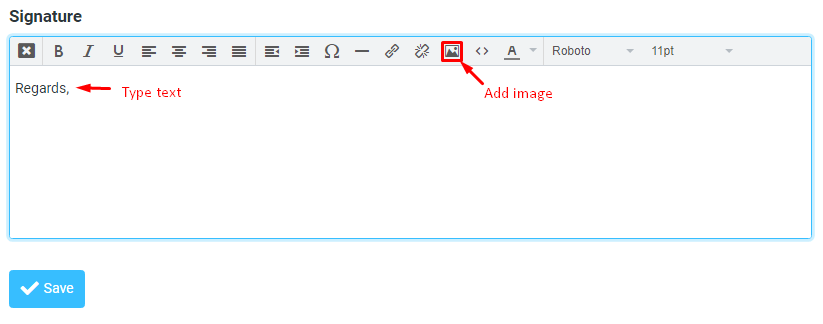
A window will pop up where you can insert/edit an image.
Step 6: Select the browse icon beside the Source text box.
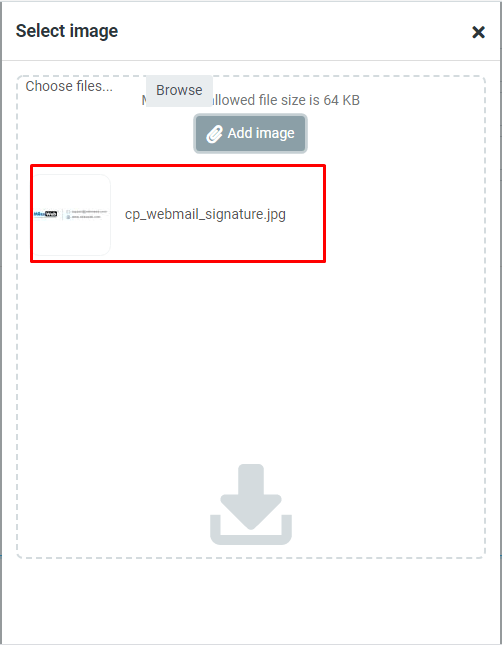
Step 7: Browse and upload an image from your local machine and click on the uploaded image.
Step 8: The details of the image will be automatically filled in the Source field.
Step 9: Click on the “OK” button to proceed.
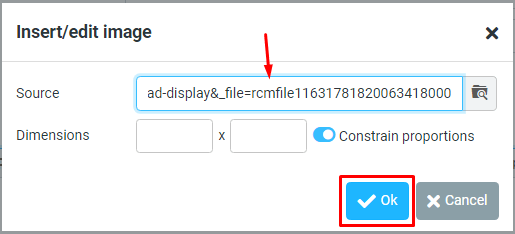
It will add the image to the Signature.
10. Click Save.
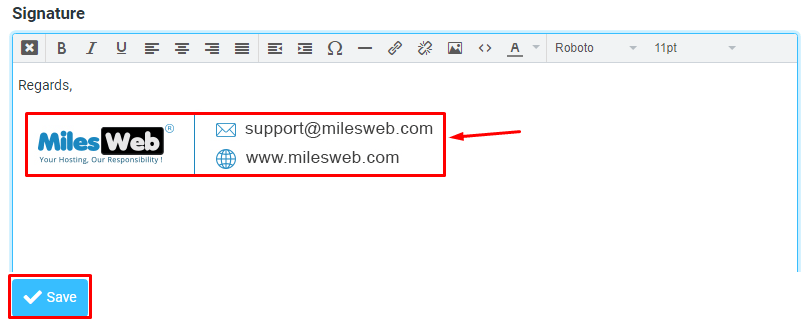
A message: Successfully saved will flash. It means the Signature was added to the selected identity of your Webmail account.
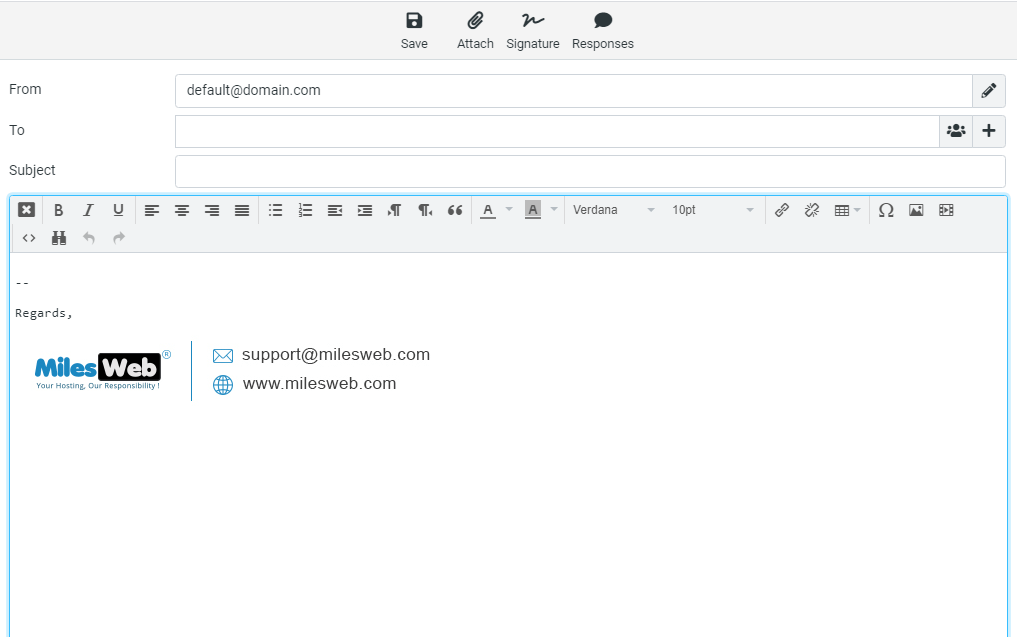
The next time you compose an email in Roundcube, click the HTML icon in the message box for typing the mail.
It will start composing the mail in HTML, which is why you will see the signature image you set for the email.