Web Disk account allows you to download, navigate and upload files between your computer and your web server. It has a drag-and-drop interface, using which you can access your website’s files as if they were stored on a local computer.
#Steps to set up a Web Disk account in cPanel :
1) Log in to your cPanel account.
2) Scroll down to the Files section and click on Web Disk.
3) cPanel by default creates a Web Disk account for you automatically and also sets your home directory as the Web Disk location. This account uses the same login information as your cPanel account, and also is able to access all of the files in your home directory.
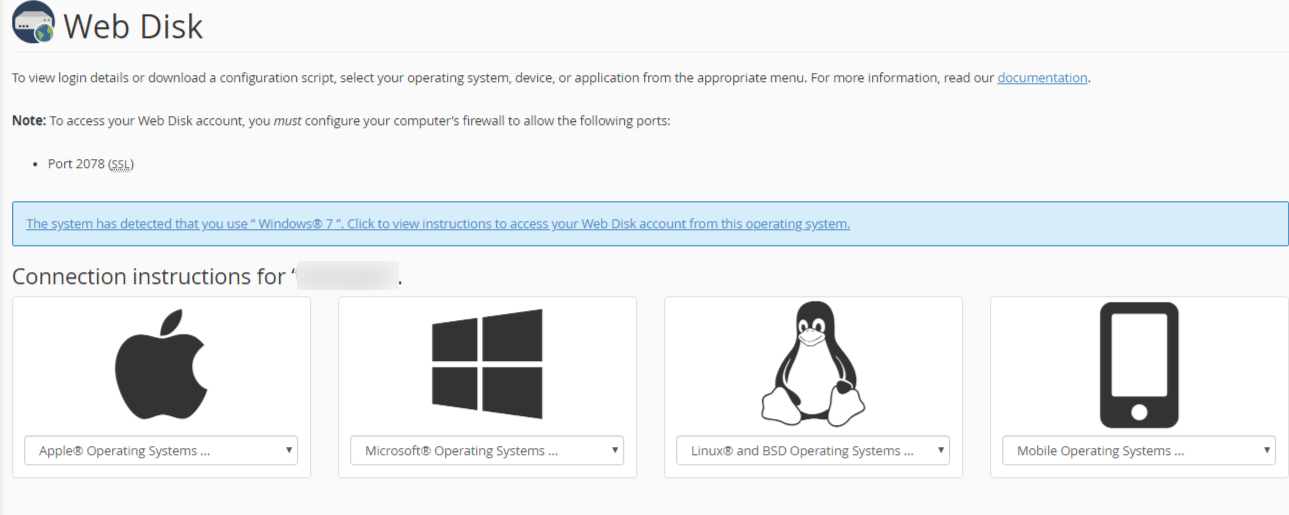
4) You can access your files by clicking on Configure Client Access under the Actions.
5) A new page gets open, here choose your computer or device operating system from the choices given.
Note : The system can automatically detect your operating system. Click on the message, click to view instructions to access your Web Disk account from this operating system.
6) After selecting it, a Download Configuration Script button gets to appear. Click on it to download the software to your computer.
7) The files get saved to your Downloads folder. If required, move it to the more appropriate folder or drag it to the desktop for frequent use.
8) Now, to access Web Disk, click on the business.mileswebhosting.net Secure WebDisk file.
9) When the dialog box gets appear, click on Open.
10) A File Explorer page gets open automatically and you need to log in.
In case you are using the default Web Disk account, then the username and password remain the same as the one you use to login to cPanel. For any other additional Web Disk account, the username and password will be the ones you used while creating the account.
11) Fill in the details like username and password, and click OK.
12) After login, your Web Disk gets to appear. You are now allowed to upload or download files between your device and server simply by dragging and dropping.
That’s it!
Also Read :
1) Steps to Create an FTP Account from cPanel


