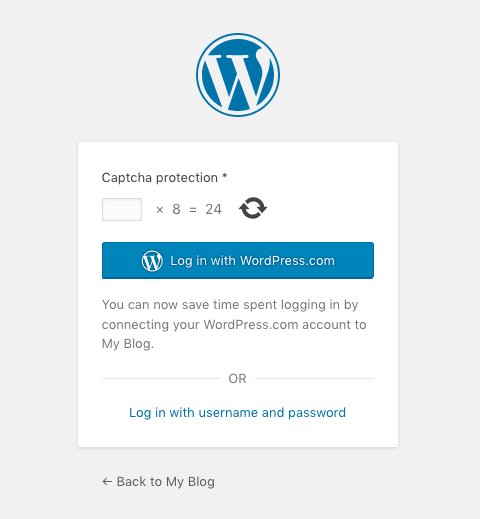
CAPTCHA stands for “Completely Automated Public Turning Test to indicate Computers and Humans Apart”.
It is an important tool that is used in computing to determine whether the user is human or not. It is used to prevent your contact forms from being used by automated spambots visiting your site. CAPTCHA protects your information or work by displaying distorted images with some letters or digits on your screen. So the humans need to type the letters or solve arithmetic equations, etc. before they can submit the form. The reason behind CAPTCHA use is that automated bots can’t read and type the displayed CAPTCHA problems and thus, are unable to use your forms to generate spam.
Your WordPress site also needs CAPTCHA protection, in order to protect it from spamming by spambots and other harmful actors. This article will guide you on how to add CAPTCHA protection to a WordPress site using the Google Captcha (reCAPTCHA) plugin.
Related: Do You Know The Solution to These Common WordPress Errors?
# How to add CAPTCHA protection?
We will use Google Captcha (reCAPTCHA) plugin, to add the CAPTCHA protection to your WordPress site.
Follow these steps :
1. Login to your WordPress account as an administrator.
2. In the WordPress window, go to Dashboard and under it click on Plugins. Then click on Add New.
3. Go to the Search text box, and type google captcha.
4. Click on Search Plugins.
5. Identify the Google Captcha (reCAPTCHA) plugin, and then click on Install Now.
6. Once the WordPress finishes installing the captcha plugin, go to the dashboard, click Plugins and then click Installed Plugins.
7. Locate the Google Captcha (reCAPTCHA) plugin that you have just installed and then click on Activate.
8. Click on Settings.
9. It is important that you create a public and private key in order to use Google Captcha. To activate it, click on the registration link under Authentication and then follow the mentioned instructions.
10. You will get your keys from Google and after receiving them, type the public key into the Public Key text box and type the private key into the Private Key text box.
11. Go to Options, under that select the settings that you want, and then click on Save Changes.
12. You can see CAPTCHAs are now activated on your site. To test its working, go to your WordPress site’s front page, and then click the comment link for a post. WordPress will display a CAPTCHA in the submission form.
Hurray!
You have just taken an important step towards the security of your WordPress site, by defending it, using CAPTCHA.
Also Read: Steps to Disable WordPress Plugins Without Accessing the WP – Admin


