
Postgres is a robust database management system that handles large workloads from a single machine or a data center. It is highly scalable and widely popular. In this knowledge base, we will learn how to set up a remote Postgres database server for your project. Following this article will allow you to set up a Postgres connection from any IP address and will not cover specific/authorized IP connections.
Prerequisites
- Well-known expertise of CLI (Command Line Interface).
- An Ubuntu server.
- Time to install Postgres local machine.
How to Install Postgres?
First, you need to install the Postgres on the server. You can execute the following command to set up SSH into your server.
ssh server_user@server_ipNote:
server_user: Your server user server_ip: Server's IP addressInput the relevant user password or SSH key password, if any. Then, update your server packages by running the command:
sudo apt-get updateProceed further in the installation process by running:
sudo apt-get install postgresql postgresql-contribThis process will install PostgreSQL along with its required dependencies. Once the installation is complete, switch to the PostgreSQL user to execute commands using the default PostgreSQL account by running:
su – postgresThe server user will switch from root to Postgres. Access the Postgres shell by running:
psqlYou will be shown something similar to this:
postgres@logrocket:~$ psqlpsql (10.12 (Ubuntu 10.12-0ubuntu0.18.04.1))Type "help" for helppostgres=#Create User
Here, we will discuss creating a new user that will be used to access your Postgres database remotely. Execute this command to create a new one.
\qIf you are still logged in to Postgres, run the following command to create a new user:
createuser --interactive –pwpromptA prompt will appear that asks you to input details like user role, name, and password to become a superuser from the user. Here is an example:
Enter name of role to add: cleopatraEnter password for new role:Enter it again:Shall the new role be a superuser? (y/n) yWe have considered cleopatra as the superuser. A superuser is a user having all privliges available on the Postgres instance. Next, we will assign our superuser cleopatra to a database by running this command:
createdb -O cleopatra egyptThis command above will create a new database named Egypt and assign Cleopatra to be the database user.
Allow Remote Access
In this step, we will learn how to configure PostgreSQL to accept external connections. First, open the configuration file using your preferred text editor:
nano /etc/postgresql/10/main/postgresql.confNavigate to this line in your file:
#listen_addresses = 'localhost'Change the value to “*” and uncomment. It allows Postgres conections from anyone.
listen_addresses = '*'Save and exit the file. Next, modify the command pg_hba.conf to allow connections from everyone. Open the file with your preferred editor:
nano /etc/postgresql/10/main/pg_hba.confModify this section:
# IPv4 local connections:host all all 127.0.0.1/32 md5 To this:
# IPv4 local connections:host all all 0.0.0.0/0 md5The file stores information about client authentication, such as IP address ranges, database names, usernames, and authentication methods. Since we grant access to all databases with any IP address range, any IP address will be able to connect to our database. Save the file and exit. By executing the following command, you can allow port 5432 to pass through your firewall:
sudo ufw allow 5432/tcpFinally, apply all changes after restarting Postgres that you have made to its configuration by running:
sudo systemctl restart postgresqlConnect to Postgres Remotely
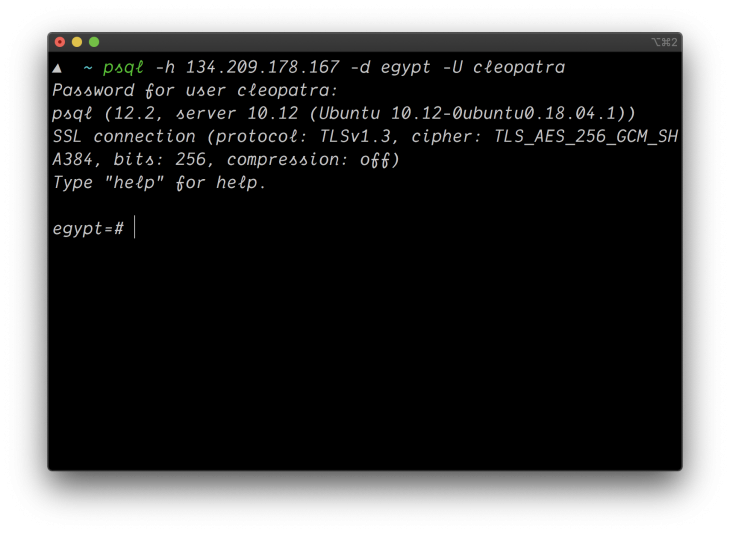
In this step, you will be connecting to the server from an external machine. Connect to the remote Postgres database by running:
psql -h {server_ip} -d egypt -U cleopatraIn this, {server_ip} denotes to the server IP address and you will get a prompt to type the user password. If the credentials match, you will be logged into the Postgres shell for cleopatra and database egypt.
Create a new table and name it pharaohs by executing the following in the Postgres shell:
create table pharaohs(name text);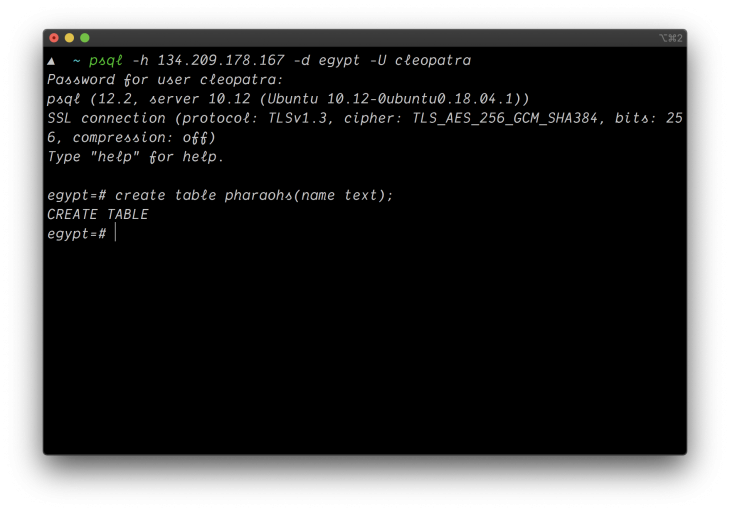
In the Postgres shell, add Tutankhamun as a string to the pharaohs table by running the following:
insert into pharaohs (name) values ('Tutankhamun');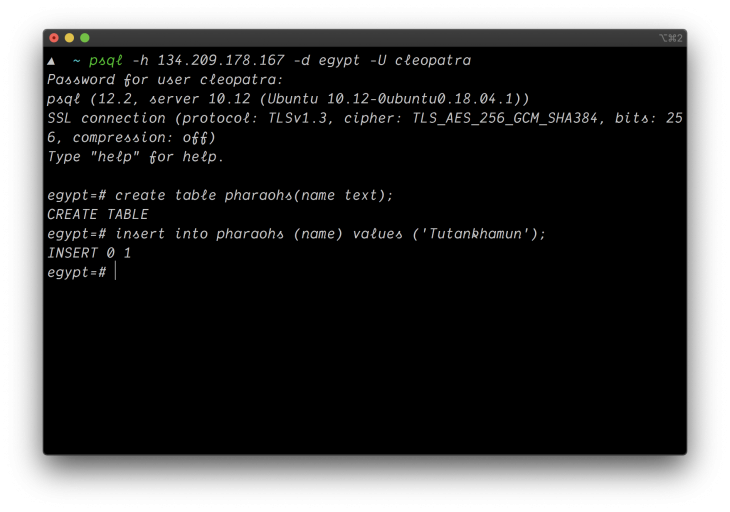
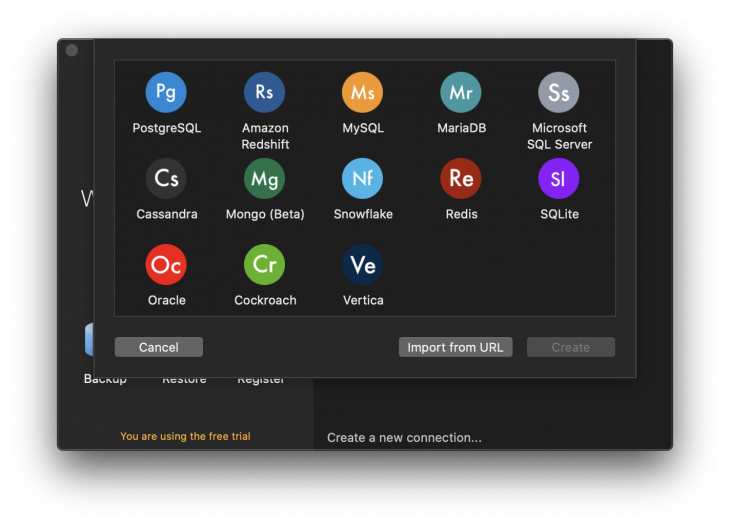
Next, we will be accessing the database using GUI (Graphical User Interface) tools like tablePlus, which enables you to visualize data away from the command line interface to see if we can find the records we created. Open TablePlus and click on Create a new connection.
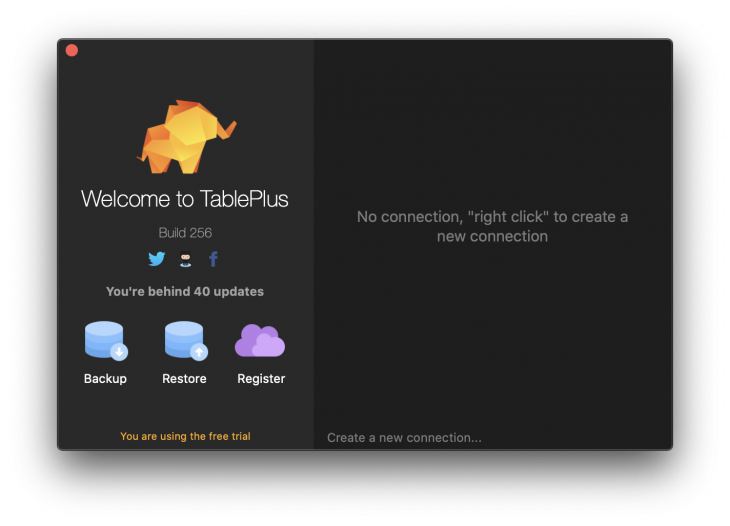
From the dropdown, select the Postgres.
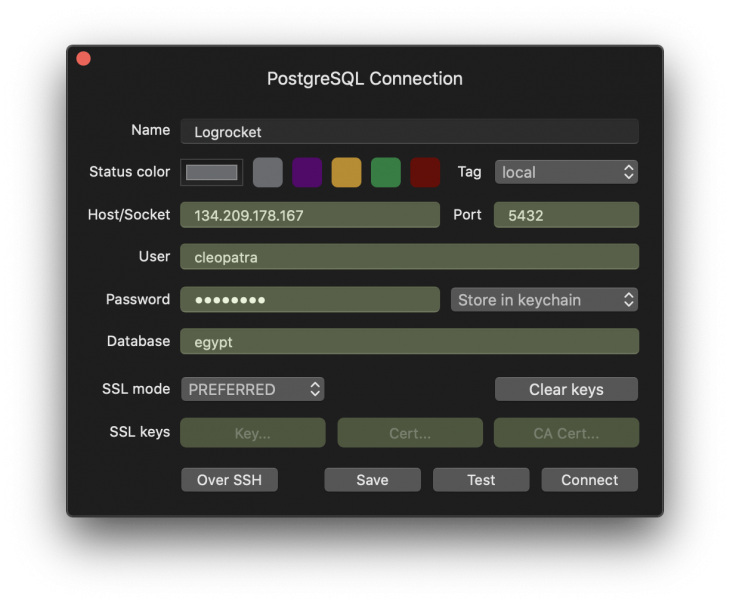
Input credentials
Note:
Postgres default port is 5432
Ignore the SSL regions (we won’t cover this topic in this post)
If the credentials are right, you will come across the GUI panel to view database records in which you will find the table created and the record we added to it.
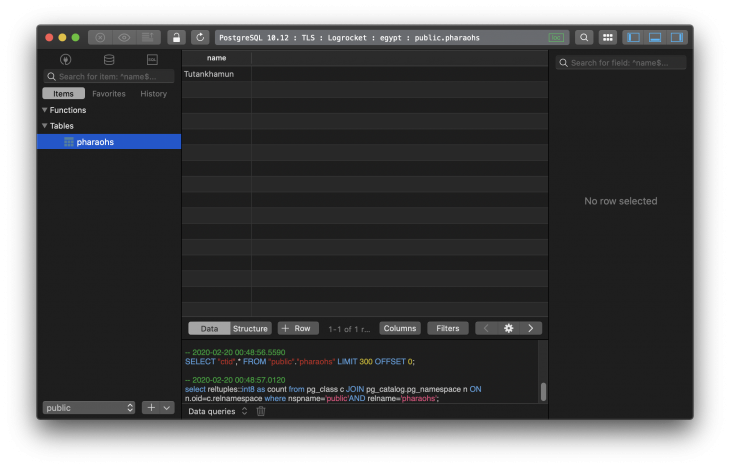
As shown in the image, we can see the pharaohs table we created earlier and the record we added to it. Our remote database is ready!
We have seen how to configure a Postgres database server for remote access. You can, therefore, host a database server for your next project. For production, security measures will have to be kept in mind. For example: only accepting specific IP addresses; you will not allow anybody to access your server by root. You will learn how to configure such settings in this tutorial.


