Watch this video for a step by step process on How to Use Initial Quota Setup To Enable The Disk Quotas In WHM
Disk quotas help you to keep a record of the disc usage for every user and to enforce the space restrictions assigned for every account. Quotas are enabled during the initial setup process. You only have to execute the steps in this tutorial if the quotas are not enabled during the initial setup process.
You will have to enable the quotas for most of the VPS and some dedicated servers at the operating system level before they are setup in WHM. The Initial Quota Setup interface scans the server to ensure that it is using the disk quotas on the directories that contain the files of your cPanel users. This quota will not affect the MySQL databases.
Follow the steps given below for enabling the Initial Quota:
- Login to WHM.
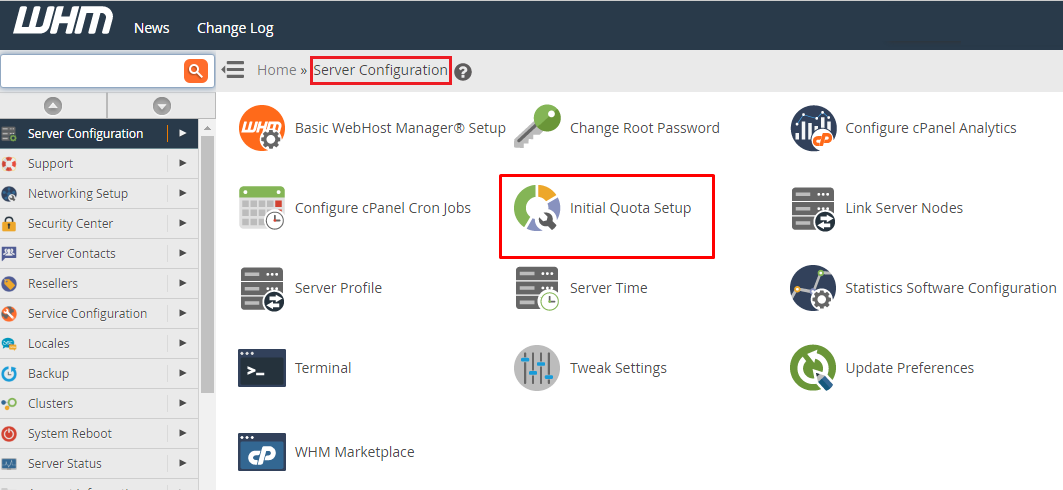
- Navigate to the ‘Initial Quota Setup’ section under ‘Server Configuration’.
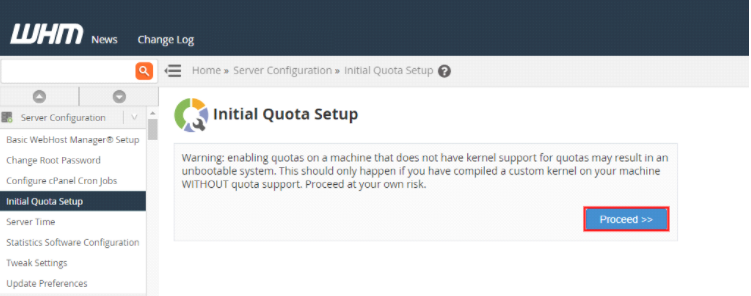
- You will get a warning that says – “Warning: enabling quotas on a machine that does not have kernel support for quotas may result in an unbootable system. This will only happen if you have compiled a custom kernel on your machine WITHOUT quota support. Proceed at your own risk”.
- In case your kernel does not support quotas, then an issue can occur. Since your server might have been set with quota enabled, it should be safe to continue.
- Click on ‘Proceed’ to continue.
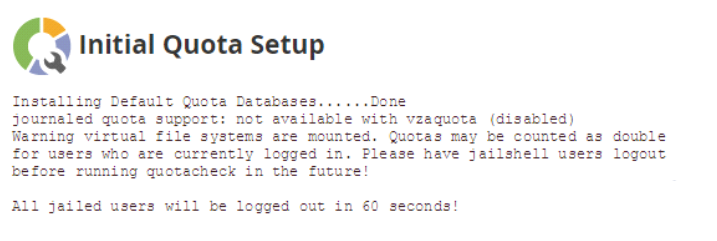
- After this step, a screen will be displayed like shown below and a quota scan will be initiated.
- The disk scan process and quota setup will take some time to complete. Once the process is completed, you will see a ‘Done’ message on your screen.
That’s it! Now the disk quota is enabled for you. This will help you in keeping a track of your hard drive and its usage.
You can also perform the same steps through the terminal:
- Login to the server with the root login credentials
# ssh root@serverIP
- Run the cPanel script given below to enable the quota.
# /scripts/fixquotas
In CloudLinux 7, the cPanel updates or kernel updates will break the quotas. So in order to fix this issue, you have to run /scripts/fixquotas command in the terminal as the root user and then you have to reboot the server for enabling the changes that you made.


