Laravel is one of the most popular PHP web application frameworks used to build robust and scalable websites. Its popularity is increasing daily because of the syntax in Laravel programming. Laravel comprises expressive and elegant syntax.
If you are planning to host a Laravel website, most of you will prefer shared hosting because of the affordability. We completely understand that saving capital on a web development project is required. But will you compromise with quality and efficiency of web hosting? With shared hosting plans, Laravel web projects will face downtime or technical errors. As a developer, you might have problems with SSH command terminal, application backups and Cron Jobs.
There are a few things that you need to keep in mind. In this blog post, we will discuss the steps to host a Laravel website.
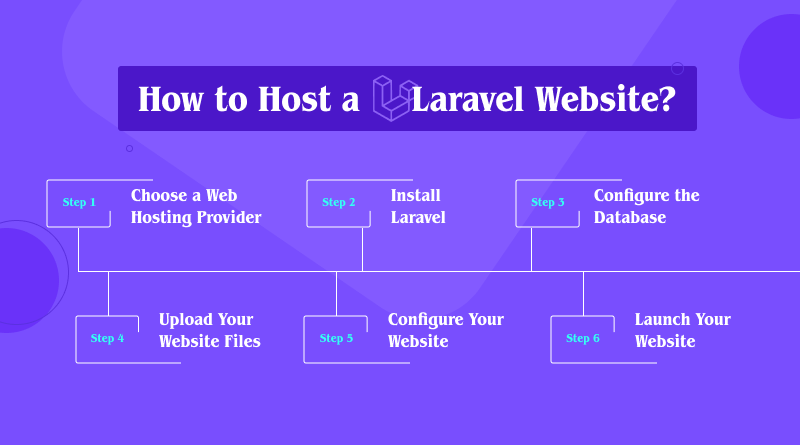
Steps for Hosting a Laravel Website?

Step 1: Choose a Web Hosting Provider
The first step in hosting a Laravel website is to choose a web hosting provider. There are several best laravel hosting providers available in the market, each with its own unique features and pricing plans. You can choose a web hosting provider based on your budget and the requirements of your website. MilesWeb is the leading web hosting service provider offering robust hosting infrastructure to host websites.
Step 2: Install Laravel
Once you have chosen a web hosting provider, the next step is to install Laravel on your server. You can do this by logging into your cPanel and using the Softaculous installer. Softaculous is a one-click installer that makes it easy to install Laravel on your server.
Step 3: Configure the Database
After installing Laravel, the next step is to configure the database. Laravel uses MySQL as its default database system. You will have to create a new database for your Laravel website and configure it in your Laravel configuration file. You can do this by accessing your cPanel and navigating to the MySQL Databases section.
Related: The Role of Caching in Laravel Hosting and How to Implement It Effectively?
Step 4: Upload Your Website Files
The next step is to upload/deploy your Laravel website files to your server. You can do this by using an FTP client such as FileZilla. Connect to your server using your FTP credentials and upload your Laravel website files to the public_html directory.
Step 5: Configure Your Website
Once you have uploaded your Laravel website files, the next step is to configure your website. You can do this by editing the .env file in your Laravel project directory. This file contains all the configuration settings for your Laravel website, including database settings, URL settings, and more.
Step 6: Launch Your Website
Finally, you are ready to launch your Laravel website by setting up your .htaccess file. Later, navigate to your website URL in your web browser. If everything is configured correctly, you should see your Laravel website live on the internet.
Hosting a Laravel website is not as difficult as it may seem. By following the steps outlined in this blog post, you can easily host your Laravel website with a web hosting provider of your choice. Remember to choose a reliable web hosting provider and configure your Laravel website correctly to ensure that it runs smoothly and efficiently.


