Not able to detect viruses or other malicious coding files on your website? Install ClamAV.
An open-source program, ClamAV detects viruses, malware and other malicious coding/files. Being a plugin for the cPanel, it can be installed and enabled for all users on the VPS or Dedicated server.
Steps to Install ClamAV
1. Log in to WHM with your root account.
2. Search and select cPanel from the navigation menu.
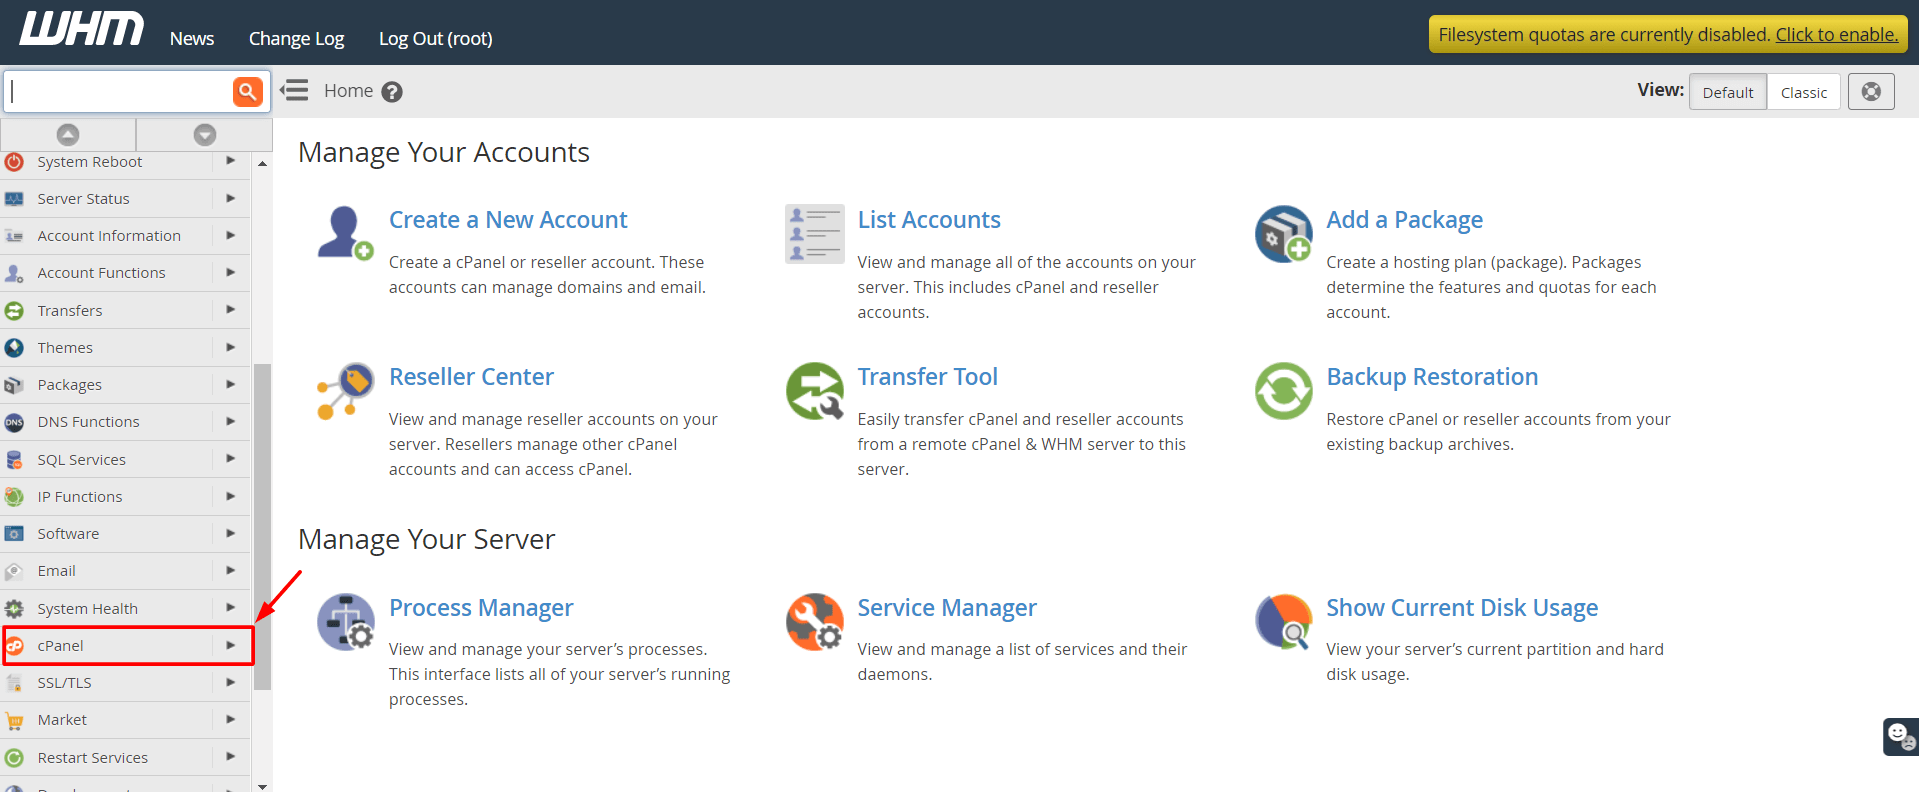
3. Click on Manage Plugins.

4. Search for the ClamAV logo and click on the Install “ClamAV for cPanel” button.
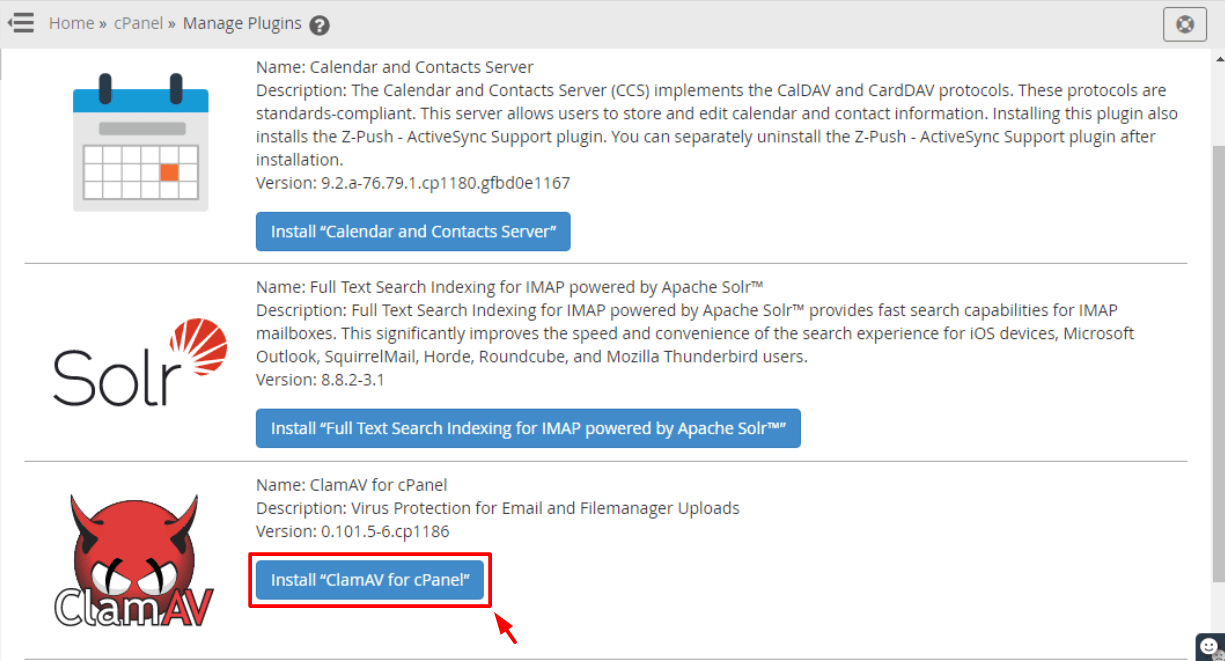
The installation process for the plugin will commence.
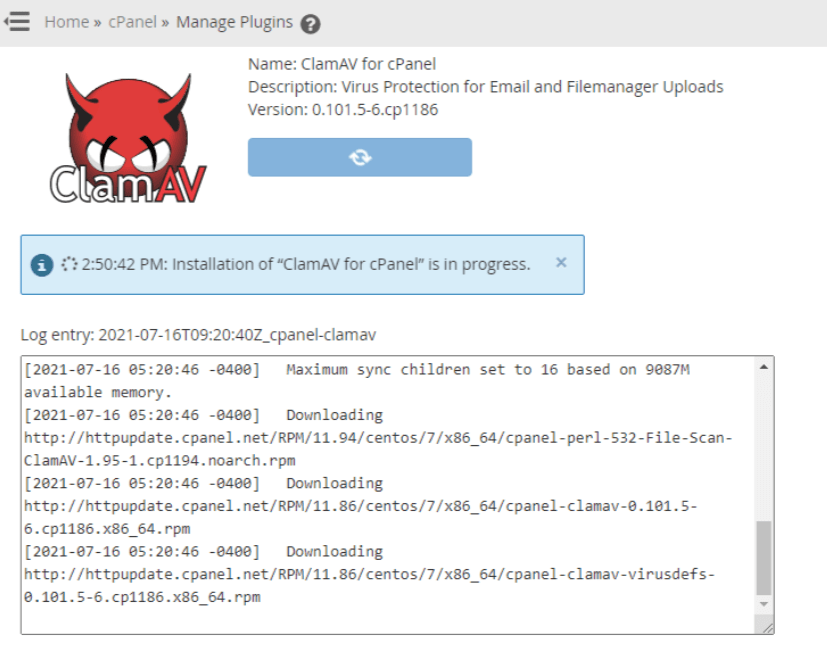
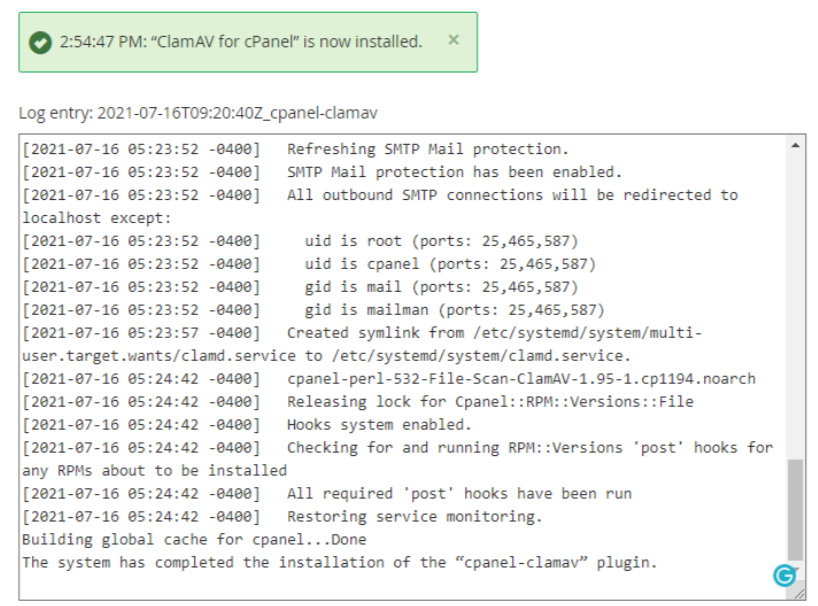
Please be patient until it reaches the end and states: “ClamAV for cPanel” now installed.
Steps to Enable ClamAV
After installing ClamAV, you will need to enable it in your Feature List. This can be easily done using the Feature Manager.
1. Search and select Packages in the navigation menu of the WHM panel.

2. Open the Feature Manager.

3. Under Edit a Feature List, select the Feature List that you would like to edit from the drop-down menu. Then click on the Edit button.

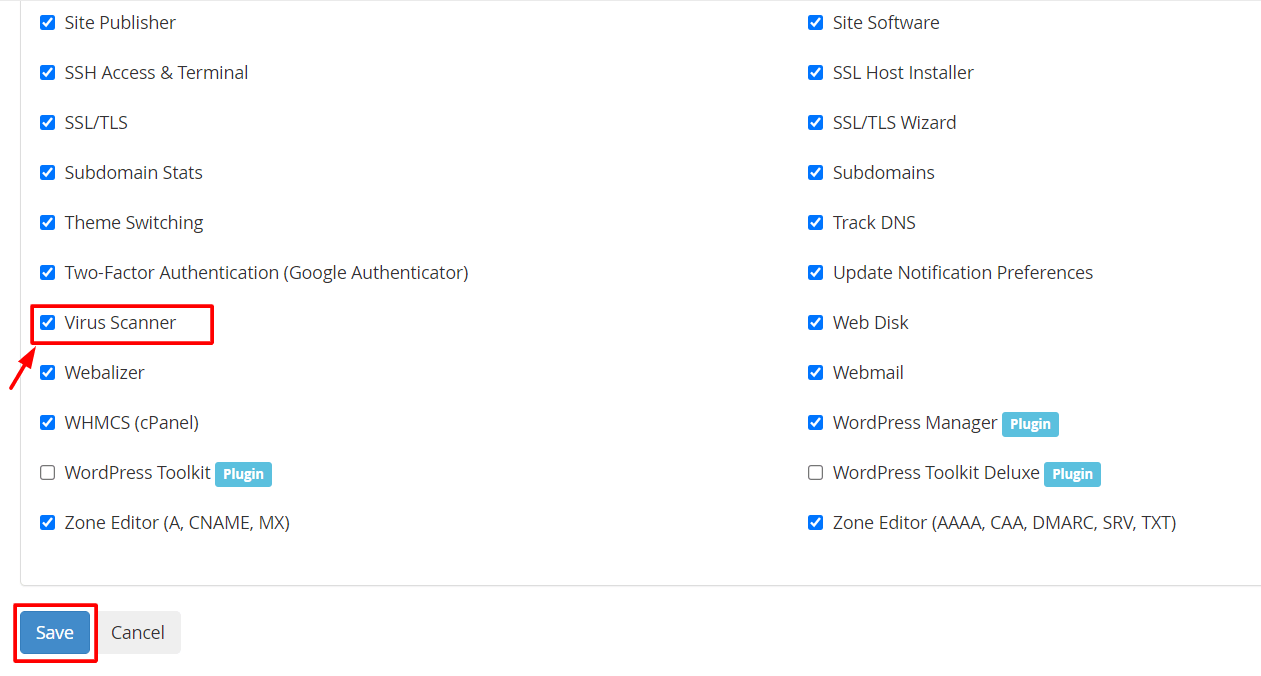
4. Tick the box next to Virus Scanner to enable the ClamAV tool in this Feature List.
5. Click on the Save button to save all the changes.
If you want to run ClamAV, use the Virus Scanner tool under the Advanced section of your cPanel.

Note: The option “Scan Entire Home Directory” will scan the complete cPanel account and use the most server resources.
In this way to have learned to install and enable ClamAV on your VPS and Dedicated hosting accounts.
Also Read:
How To Clean Website From Malicious Content?
Unable to upload files from cPanel file manager


