The article guides you on how to restore the following items using the Dropmysite cPanel plugin:
• Website backups
• Database backups
• E-mail backups
# Website backups
Perform the following steps to restore a Dropmysite website backup :
1. Log into cPanel.
2. Locate SOFTWARE section on the cPanel home screen, and click on Dropmysite.
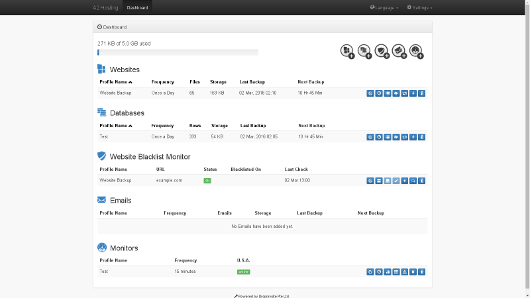
Now, the Dropmysite dashboard will appear :
3. Under Websites, identify the site backup that you want to restore, and then click on the Restore Files ![]() icon. The Restore Files page will appear.
icon. The Restore Files page will appear.
4. In the Date list box, select the date of the backup as per your choice to restore.
5. You are allowed to restore specific or all the files in a backup :
In order to restore specific files, select the check box present next to the file or files that you wish to restore.
In order to restore all the files in the backup, select the Select All check box.
6. Click on the Restore Files ![]() icon.
icon.
7. Locate the Create Restore page, and on it select the By checking this box, I agree to replace any existing files selected with this restore check box.
8. Click on Restore. Dropmysite will restore the selected file or files.
# Database Backups
Perform the following steps to restore a Dropmysite database backup :
1. Log in to cPanel account.
2. Locate the SOFTWARE section on the cPanel home screen, and click on Dropmysite.
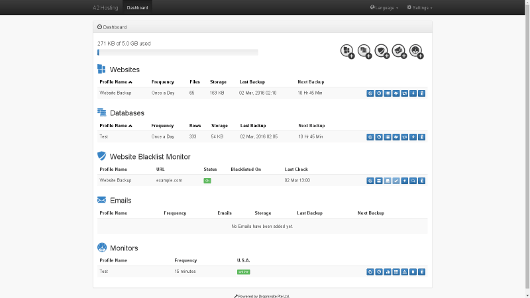
Now, the Dropmysite dashboard will appear :
3. Under the Database section, locate the database backup that you want to restore, and then click on the Restore Database ![]() icon. The Database Restore page will appear.
icon. The Database Restore page will appear.
4. In the Backup date list box, select the date of the backup that you want to restore.
5. Click on Restore.
6. On the page for Create Restore, select the By checking the box, I agree to overwrite the existing database with this restore check box.
7. Click on Restore. Dropmysite will restore the selected database.
# E-Mail backups
Perform the following steps to restore a Dropmysite e-mail backup :
1. Log in to cPanel account.
2. Locate the SOFTWARE section on the cPanel home screen, and click on Dropmysite.
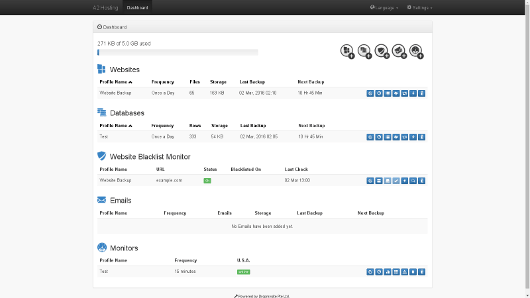
Now, the Dropmysite dashboard will appear :
3. Under the Emails section, identify and locate the e-mail backup that you want to restore, and then click on the Restore Emails ![]() icon. The Restore Files page will appear.
icon. The Restore Files page will appear.
4. In the Date list box, select the date of the backup that you want to restore.
5. You are allowed to restore specific or all files in the backup :
In order to restore specific files, select the check box present next to the file or files that you want to restore.
In order to restore all of the files in the backup, tick the Select All check box.
6. Click on the Restore Files ![]() icon.
icon.
7. On the page for Create Restore page, select the By checking this box, I agree to replace any existing emails selected with this restore check box.
8. Click on Restore. Dropmysite will restore the selected file or files.
Also Read :


