At times, you might find yourself in a situation where you need to restore a web page on your website and the worst part is, you don’t have any backup locally or on a web hosting server. So how is it possible to get out of this situation? This is where you may use Google’s Cache to fix the problem.
Whilst Google bots crawl your website pages, it grabs the snapshot of your page and is stored on their system. That snapshot shows how your web page looks online when Google crawl it and is available to see using the “Cached” link in Google’s search results. Restoring a page using Google’s cache, in short, is the use of the HTML Google stored whilst crawling your website to rebuild the file you want to restore.
Please take a note:
The steps mentioned below may not work for everyone. This method can only be used if you don’t have any other option. Google’s cache may not work on a personal home page or different pages that use server facet scripting as Google cannot see your PHP code, but only the HTML page that is generated.
How to use Google Cache to restore a web page?
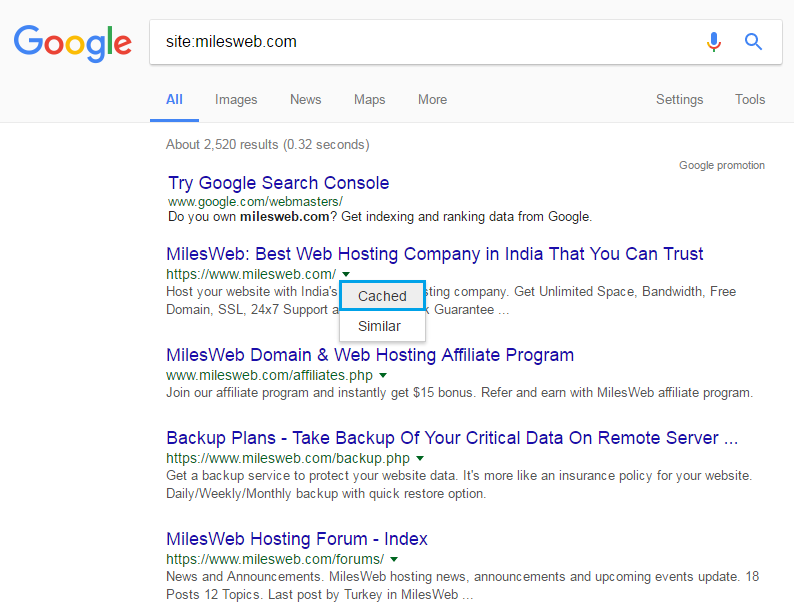
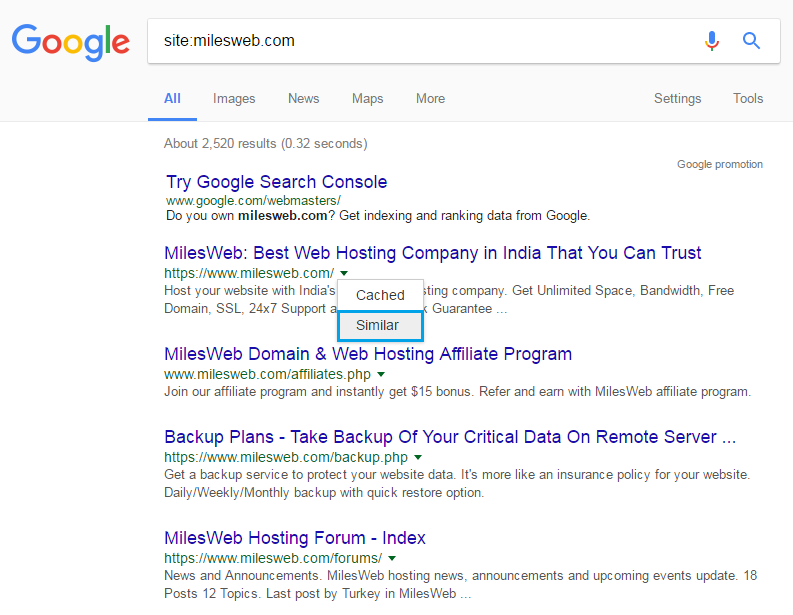
Make a Google Search for site:milesweb.com. Make sure to replace milesweb.com with your domain name and do not keep any spaces in between site: and milesweb.com.
You will see a listing of all pages that Google has crawled that are in milesweb.com. Click the Cached link next to the page you need to restore.
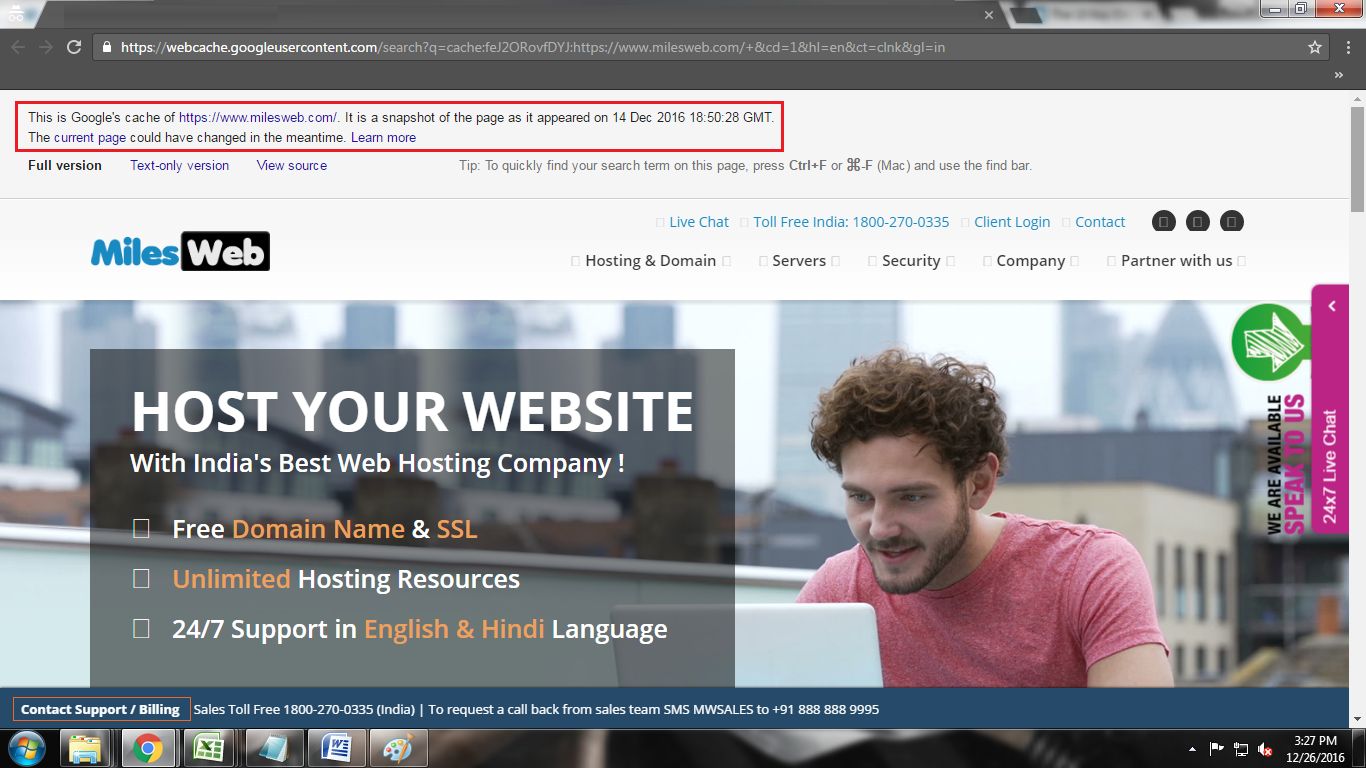
At the top of the page, Google will display a message similar to:
This is Google’s cache of https://www.milesweb.com/. It is a snapshot of the page as it appeared on Dec 14, 2016, 18:50:28 GMT.
The snapshot date listed is the date on which Google crawled your website. If your page shows this message, then it will be possible for you to use the HTML code in Google’s cache to try to restore the file.
View the source code of your web page. In most of the browser’s, you can simply right-click and View the page source. The source code is the HTML code which is used to render your website. Now simply select the code and copy/paste it on a test file. As an example, if you need to repair index.Html, paste the code in a file named index_test.Html. Google adds a few lines at the top of the page so that you’ll need to delete the primary traces of code on the top. Those first few lines are what Google uses to show the information at the top of the cached page, as an example, the snapshot date.
Take a look at the new file in your browser. In this example, you might want to check milesweb.com/index_test.html. If this version of your web page in Google’s cache is right for you, move the original file and as an alternative put the test file in place. In this example, you will need to rename index.Html to something else, like index.html.bak, and after that, rename the test file from index_test.html to index.html.


